Youtube Embed?
No one likes roofing emergencies, but hey, things happen. So, when it comes to protecting your home, nothing is more reliable than a roof tarp. It’s the best temporary fix for unexpected leaks. However, knowing how to properly put the tarp on is essential.
In the guide below, we’ll walk you through how to tarp a roof, ensuring that you have all the information needed to achieve reliable protection.
Don’t let a damaged, leaky roof threaten the safety of your home. Follow our ultimate step-by-step guide to learn helpful roof tarping tips. Without further ado, let’s get started!
Why Tarping a Roof Is Important
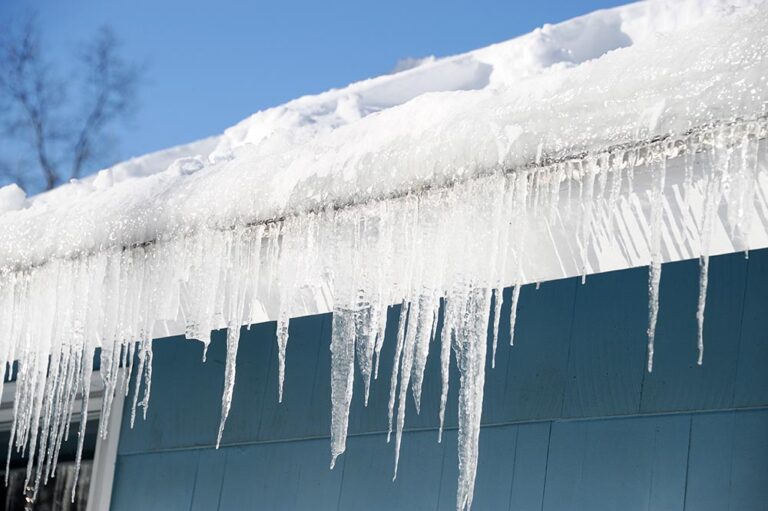
A well-tarped roof is vital for protecting your home from the elements. Whether you’re dealing with a leak or preparing for bad weather, properly tarping your roof can provide adequate protection. A tarp acts as a barrier, preventing further damage until permanent repairs are made.
It keeps out rain, snow, and debris, helping to maintain the integrity of your roof and the security of your home. By learning how to apply a roof tarp, you can save yourself from costly repairs. Just remember, it’s only a temporary fix.
The Materials Needed for Tarping a Roof
Before you begin the process of tarping your roof, it’s important to gather all the necessary materials. Here’s a list of items you’ll need:
- Tarp: Choose a heavy-duty tarp made of waterproof material. Make sure the tarp is large enough to cover the damaged area with a few feet of overlap on all sides.
- Bungee cords or ropes: These will be used to secure the tarp to the roof. Opt for high-quality bungee cords or ropes that are strong and durable.
- Board and Nails: You’ll need boards and nails to further secure the tarp down.
- Ladders: Depending on the height of your roof, you’ll need a ladder to access the damaged area. Verify that the ladders are in good condition and placed on stable ground.
- Safety gear: It’s imperative to prioritize safety when working on your roof. Wear non-slip shoes, gloves, and a helmet to protect yourself from potential hazards.
Step 1: Assessing the Damage and Preparing the Roof
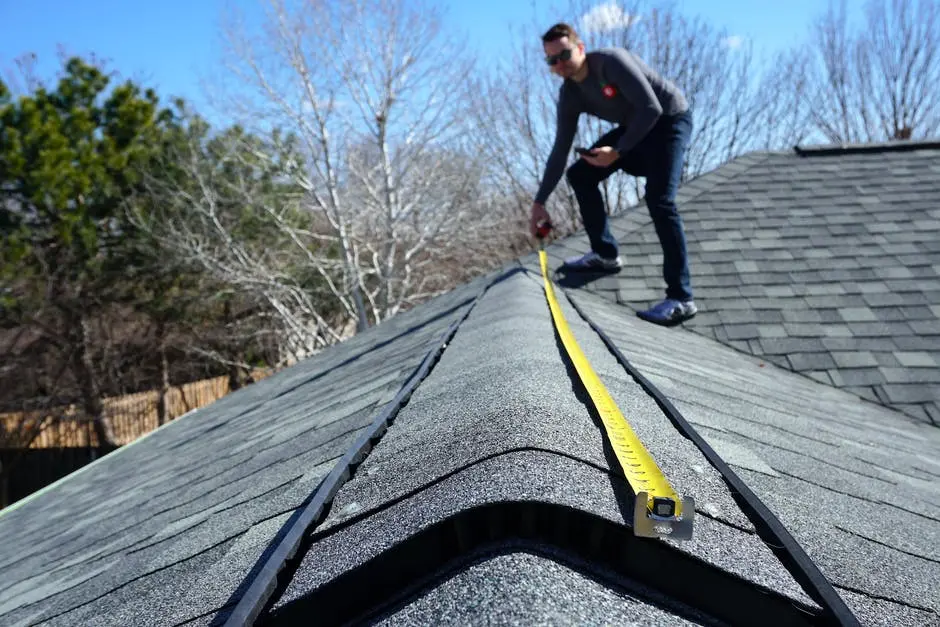
The first step in tarping your roof is to assess the extent of the damage and prepare the area. Start by inspecting the roof for loose, missing, or cracked shingles.
Identify the damaged area that needs to be covered with the tarp. It’s imperative to have a clear understanding of the scope of the damage before proceeding.
Next, clear the area of debris or loose materials. Remove branches, leaves, and other objects that may interfere with the tarp installation. This will ensure a smooth, secure tarping process.
Step 2: Choosing the Right Tarp for Your Roof
Selecting the right tarp for your roof is vital. Consider the size and material of the tarp. It should be big enough to completely cover the damaged area and have a few feet of overlap. This extra coverage will prevent water from seeping in and causing further damage.
In terms of material, opt for a heavy-duty tarp that’s made of waterproof material. These materials are durable and can withstand the elements. Avoid using plastic or lightweight tarps, as they may tear or get blown away easily.
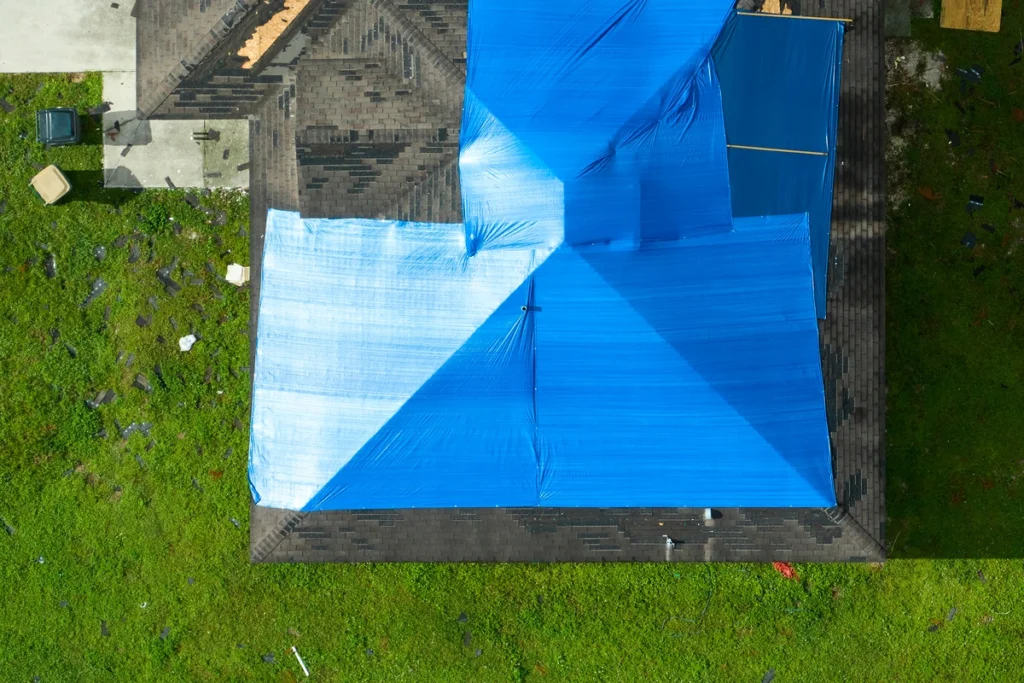
Step 3: Securing the Tarp to the Roof
Now that you have assessed the damage and chosen the right tarp, it’s time to secure it to your roof. Start by positioning it over the affected area. Make sure that it extends beyond the damaged portion. Doing so will provide adequate coverage and keep water from getting in.
Use bungee cords or ropes to secure the tarp to the roof. Start at one corner and work your way around, attaching the cords at regular intervals. Make sure the tarp is pulled tight and fastened securely. That’ll prevent it from flapping in the wind or getting dislodged during heavy rain or snow.
Once the cords are in place, lay down some wooden boards and fasten them down with nails. You can also use sandbags for extra hold.
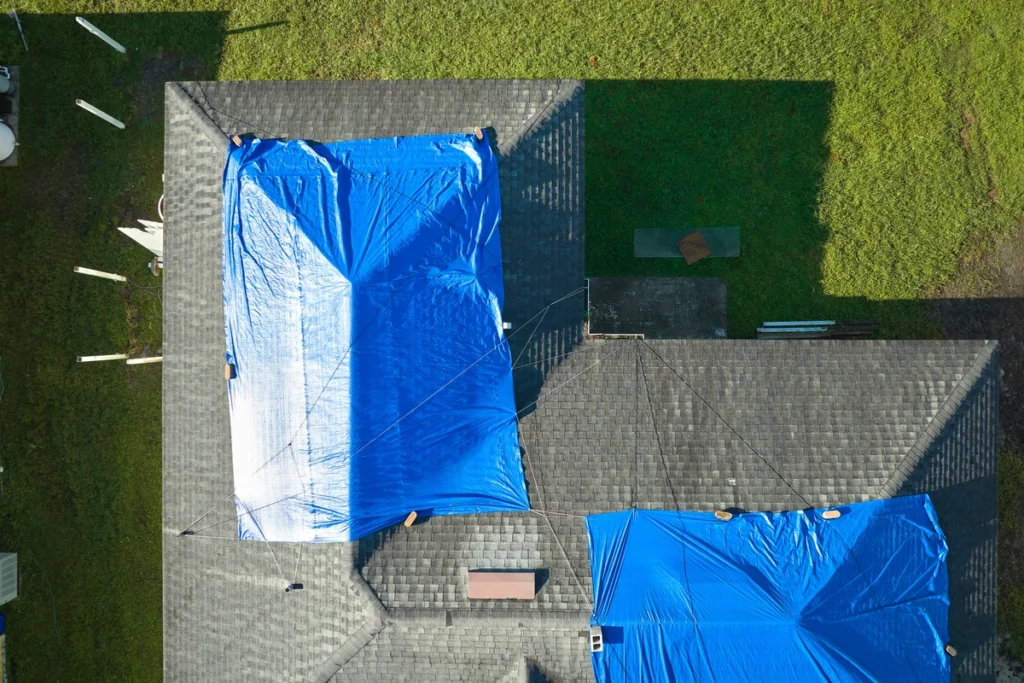
Step 4: Make Sure the Tarp Is Properly Sealed
Once you have secured the tarp to the roof, it’s essential to double-check that it’s properly sealed and secure. Inspect the edges of the tarp to verify that there are no gaps where water can enter. Use additional bungee cords or ropes to tighten loose areas.
Take the time to walk around your home and check the tarp from different angles. Look for signs of sagging or areas that may need reinforcement. If needed, adjust the position of the tarp to ensure that it adequately covers the affected area.
Step 5: Monitoring and Maintaining the Tarp
After successfully tarping your roof, it’s essential to monitor and maintain it. Check the tarp after each storm to ensure that it’s still in place and functioning effectively. Remove any debris or standing water that may accumulate on the tarp. Doing so will prevent additional weight and potential damage.
Inspect the tarp for signs of wear and tear. If you notice holes or tears, replace the tarp altogether. Regular maintenance and monitoring will prolong the lifespan of the tarp and keep your roof protected.
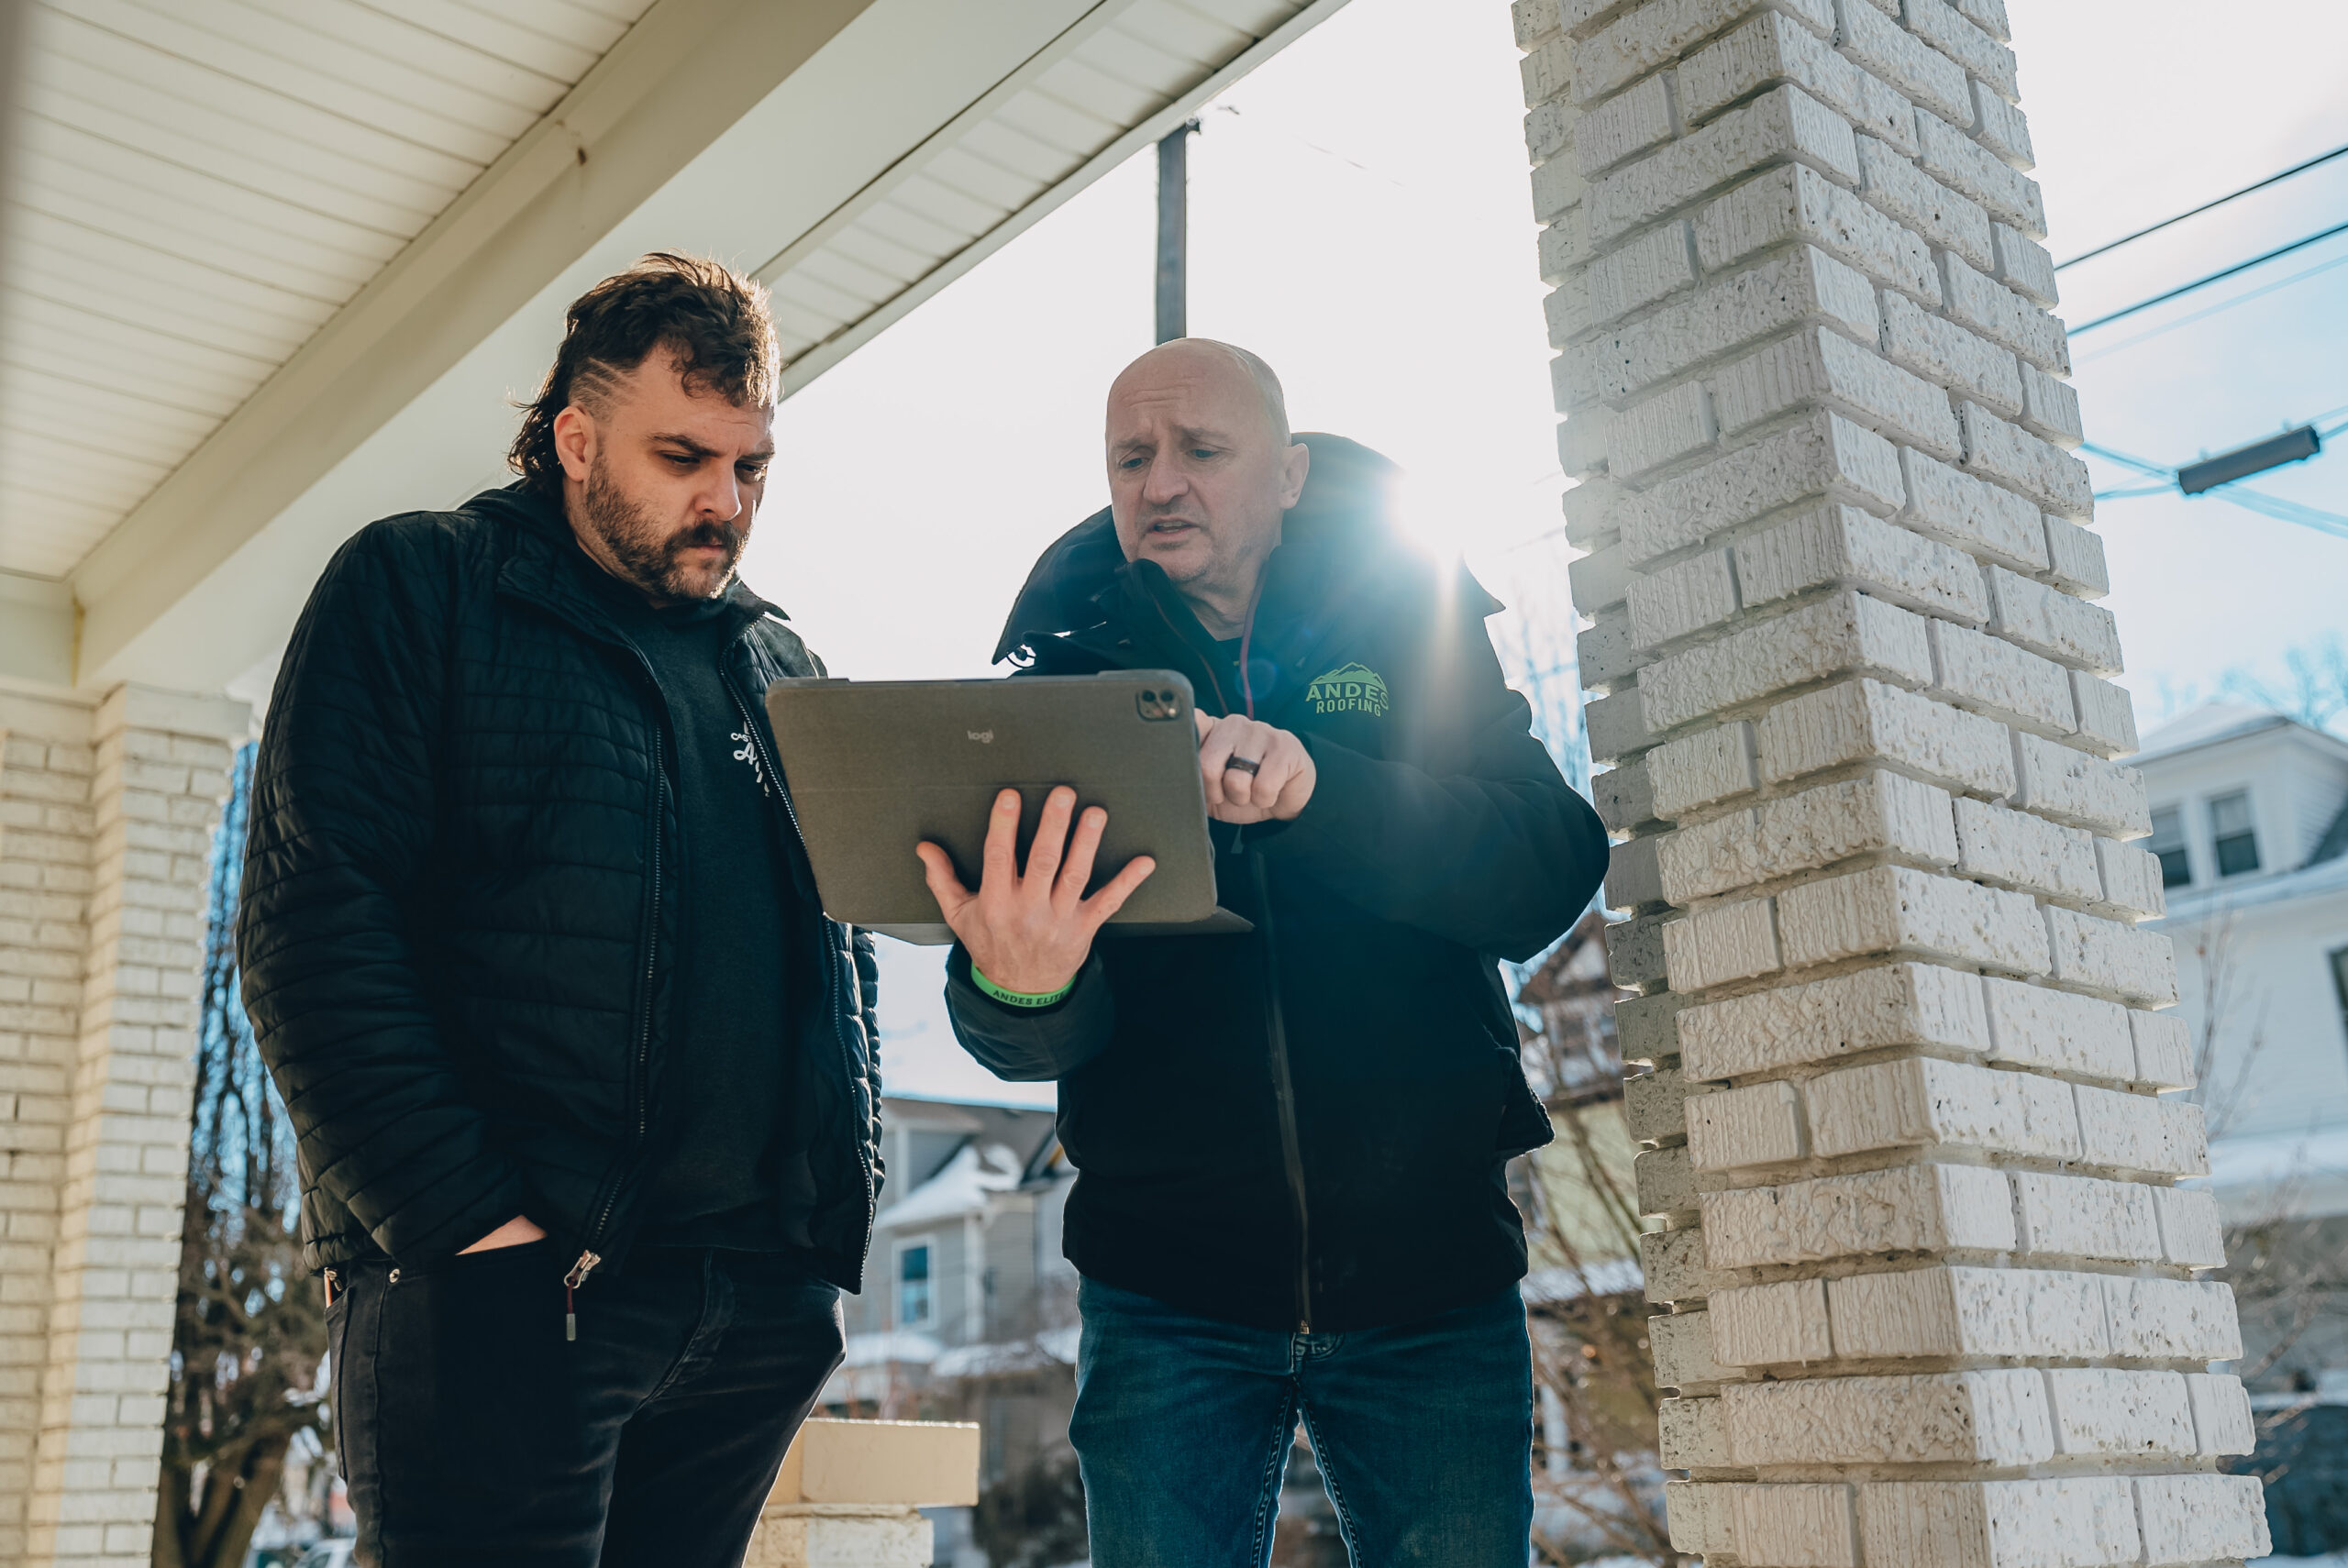
The Benefits of Hiring a Professional Roofer
While roof tarping is a task that can be done by homeowners, there are certain benefits to hiring a professional. A roofing contractor has the knowledge and experience to accurately assess the damage and choose the right tarp for your roof. They can ensure that the tarp is correctly installed, which provides reliable protection.
Furthermore, professionals have access to high-quality materials and equipment that may not be available to homeowners. They can offer expert advice and guidance on maintenance. Not to mention, a contractor can provide the roof repairs needed to get your roof back into good condition.
Let Us Fix Your Roof Damage
It’s safe to say that knowing how to properly tarp a roof is essential for ultimate protection. The good news is you don’t have to worry about tarping your own roof. We can do it for you!
At Andes Roofing, our team performs emergency repairs, storm damage repairs, and so much more. To inquire about our services, call 812-226-9313, or contact us online for a free inspection.