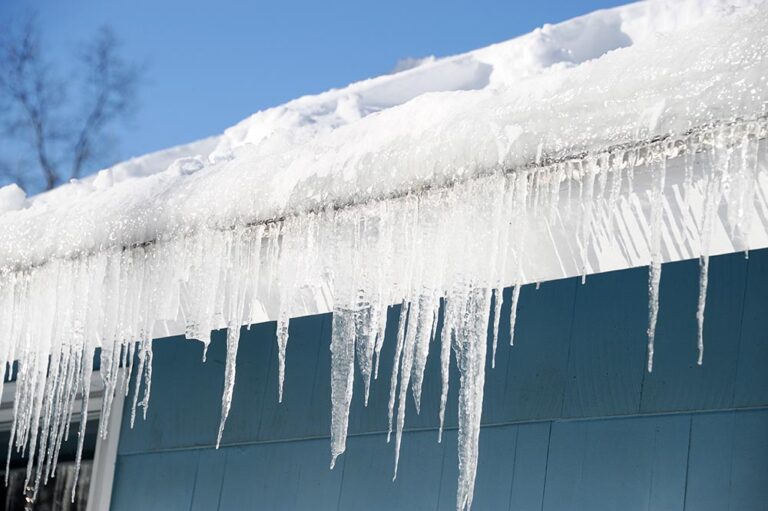
When you live in an apartment, you can watch a thunderstorm or hail storm out your window without much care. But when you’re a homeowner, you watch the storm with bated breath, hoping that your property won’t sustain any damage.
Unfortunately, high winds and hail can quickly damage your roof, especially if your shingles are older. If you’re scrambling to fix roof damage and protect your home, you’re in the right spot. We’ll cover emergency roof repair tips to set you up for success. And remember, when in doubt, call a professional Roofer like Andes.
1) Make DIY-Friendly Repairs (If You’re Comfortable)
DIY roof repairs can be tricky. You should never attempt large-scale roof repairs or a total replacement by yourself. However, in emergency scenarios, there are a few DIY-friendly repairs you can attempt if you feel comfortable enough to do so.
Keep safety precautions in mind before attempting a roof repair yourself:
- Never work alone 🧑🤝🧑
- Don’t work in inclement or harsh weather (rain, snow, wind, extreme temperatures) 🌧️
- Wear closed-toed, rubber sole shoes 🥾
- Use a ladder that extends at least 3 feet above your roof (but never step on the part that extends above your roof) 🪜
There are three common roof repairs that homeowners can tackle: tarping your roof, replacing a missing shingle, and securing a lifted shingle. We’ll cover the how-tos below, but always remember that you should only attempt your own repairs in emergency situations when a contractor can’t provide immediate help.
Tarping Your Roof
One of the easiest DIY emergency roof repair projects is securing a tarp to your roof. Ideally, you only have to cover a small area that’s damaged or leaking. To tarp your own roof, follow these steps:
- Purchase a waterproof tarp at a home improvement store that’s large enough to cover the damaged area of your roof.
- Get 2×4 planks or sandbags that will hold the tarp down.
- Clear the area of any debris.
- With help, place the tarp over the damaged area on your roof.
- If using 2×4 planks, wrap the edges of the tarp over the planks and nail them down. If using sandbags, place them along the edges of the tarp, avoiding gaps, to secure the tarp. You can also use cinder blocks to secure the tarp.
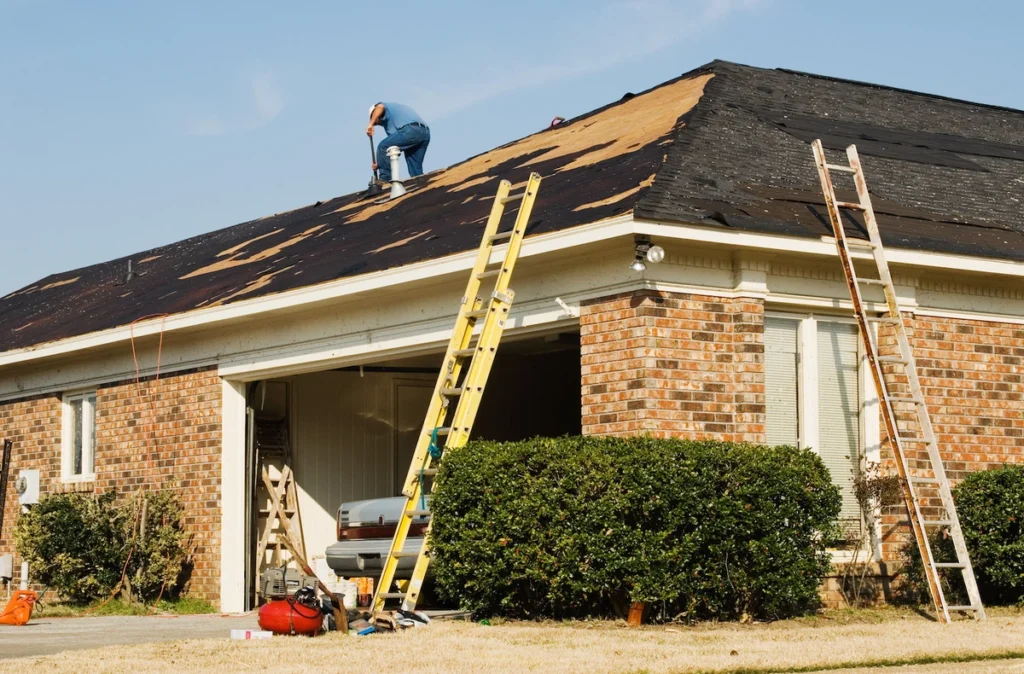
Replacing a Missing or Broken Shingle
In some cases, wind or debris can cause a shingle to break or blow off entirely. This leaves your roof susceptible to leaks. It’s possible to repair your own shingles; just keep in mind that doing so may void certain warranties.
Replacing a single can be a simple task as long as you take your time.
- Purchase a replacement shingle in the same brand and color as the remainder of your roof.
- Get a package of roofing nails, some roofing cement, and a pry bar.
- When on your roof, carefully pry up the nails on the damaged shingle and the one directly above it.
- Remove the damaged portions of the shingle and any remaining nails.
- Slide the new shingle into place and nail the top two corners down.
- Lay some roofing cement under the shingle, nail down the bottom two corners, and apply a little bit of roofing cement over the nails.
- Re-secure the shingle above the new one with roofing nails.
Securing a Lifted Shingle
On a particularly windy day, you may look up at your roof and notice a shingle or two flapping in the wind. Unsecured shingles offer a high risk of water leaks. If you feel comfortable, you can climb on your roof and secure the lifted shingles back down. All you’ll need is some roofing cement, roofing nails, and a hammer.
- Find the lifted shingle and apply roofing cement underneath it.
- Nail down the lifted corners with roofing nails.
- Check to see if any other shingles in the area are lifted, and follow the same steps.
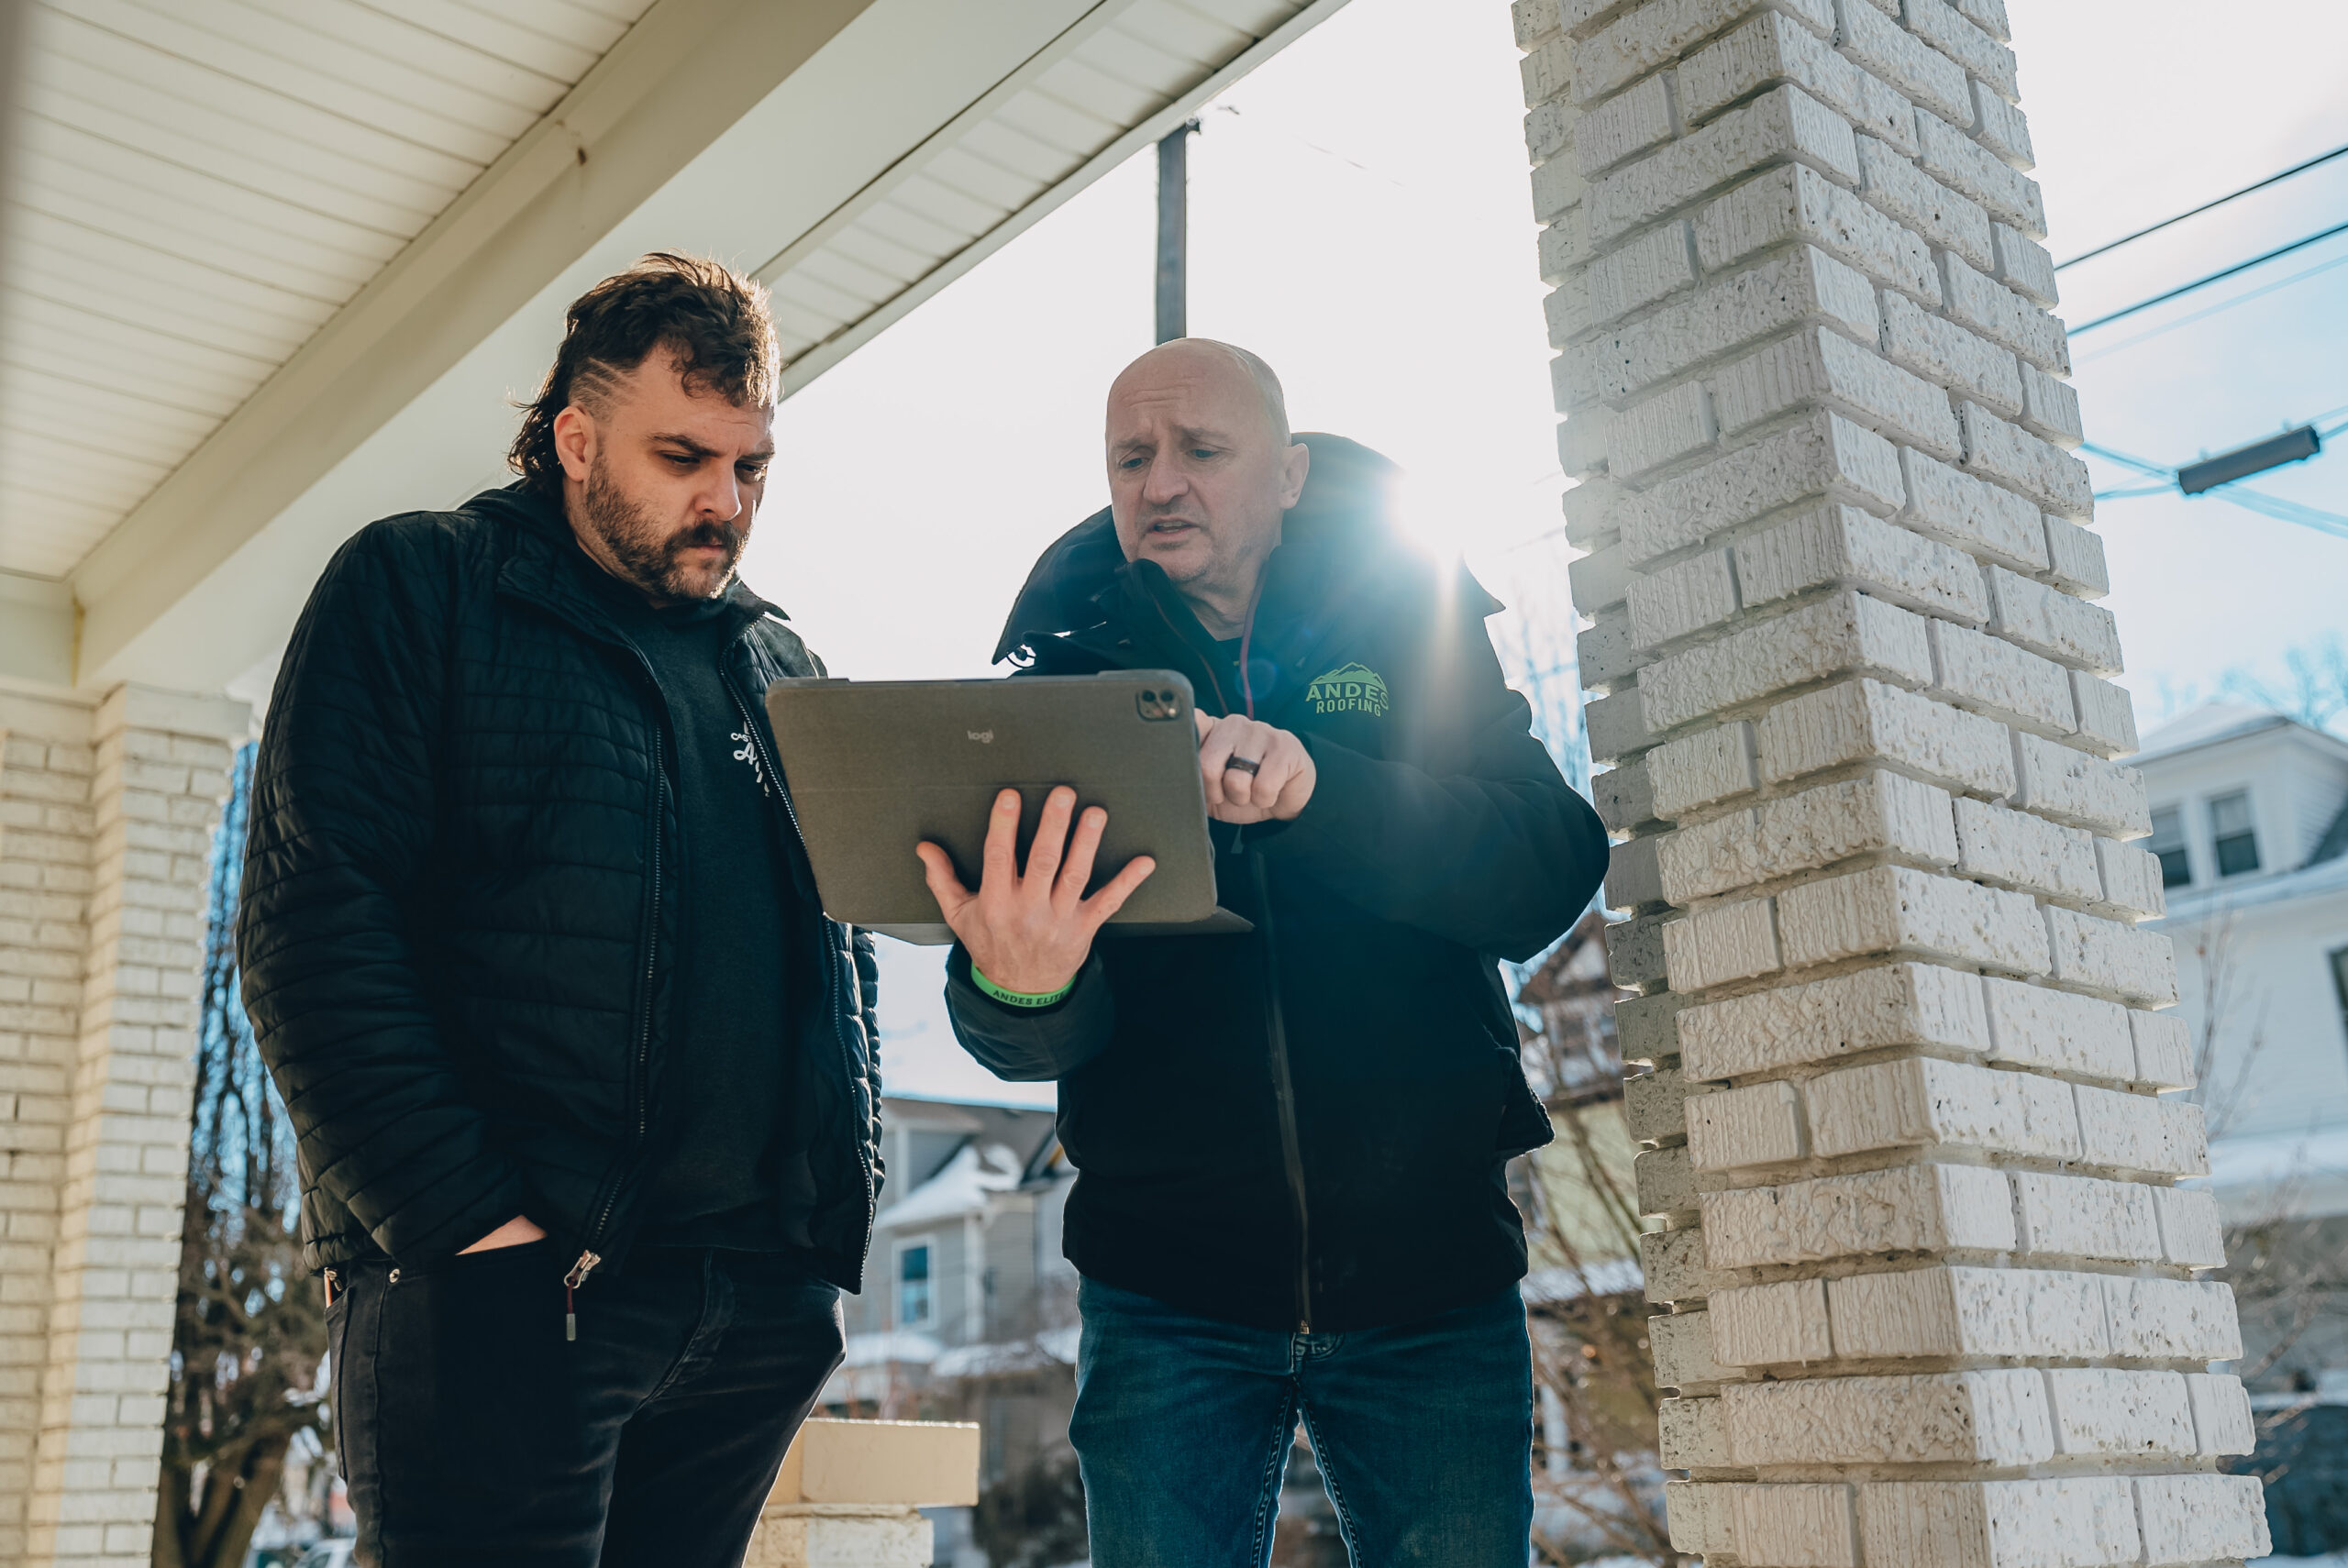
2) Contact a Professional Roofer Right Away
Whether or not you want to attempt your own repairs, you need to call a professional, local roofing company. Water damage from roof damage can be an incredibly expensive issue to fix, so you want a long-term solution as soon as possible.

Many reputable roofing companies offer free inspections and estimates, so you’ll be able to hear exactly what’s wrong with your roof, how much it will cost to fix, and how quickly the roofer can perform the service.
3) Document the Damage
It’s important to keep documentation of your roof damage. Some ways to do this include:
- Taking photos of the damage
- Writing down when the storm occurred and when the damage appeared
- Taking a video of the damaged area
Performing the documentation yourself is great, but having your roofing contractor do it is even better. They will also write up a detailed report that outlines your damage and the recommended repairs. This will come in handy if you decide to file a storm damage insurance claim. Which, speaking of, brings us to our final tip…
4) Consider Filing an Insurance Claim
If your roof damage was the result of a storm, you may be eligible for insurance coverage. Reference your homeowners’ insurance policy to confirm if you’re covered. Then, use the documentation of your damage and file a claim.
An insurance adjuster from your insurance company will come out to your property and decipher if you’re eligible to be approved or not. If they find damage that’s covered under your policy, they may approve your claim and send a settlement check in the mail. You can then work with your preferred roofing contractor to get the repairs or total replacement you need.
Andes Roofing Is Your Emergency Roof Repair Partner
We hope this article proved helpful if you’re dealing with a roofing emergency. The most important thing you can do when you have roof damage is always to work with a professional. If you live in Southern Indiana or Louisville, lean on Andes Roofing when you need fast, professional, and reliable service.We won’t leave you hanging— just check out our hundreds of 5-star Google reviews! Call Andes today, and we’ll perform a free inspection and help fix your roof in no time.