Vinyl has become one of the most popular materials for cladding homes. Aside from durability, this type of exterior cover is versatile, appealing, and affordable.
However, like any other material, vinyl siding comes with disadvantages. Your vinyl siding may have sustained cracks and splinters due to old age and exposure to harsh elements. Fortunately, this is an easy fix.
Read on to learn how to remove vinyl siding to give your home a fresh, new look.
Understanding the System
Before removing vinyl siding, it’s best to understand how it works.
A standard vinyl panel is 12 feet long and attached to the siding with an interlocking strip-and-lip channel system. At the top is a strip you can nail to the wall. Then, at its bottom is a lip that you can lock with the panel below.
To remove a panel, you must first unlock it from the one above it. To do this, you need a zip tool, which costs around $5. You must work on one panel at a time.
Prepare Your Tools
Prepare the necessary tools, materials, and safety gear.
The installation involves a lot of nails, so you want something you can remove them with safely. You can use a pry bar to pull them away from the wall. Use a claw hammer or pincer pliers to remove the nails.
To avoid stepping on the nails, prepare a bucket where you can put them. Don’t forget to put up a ladder or temporary scaffolding. To prevent injury, wear the appropriate glasses, work gloves, and closed-toe shoes.
Set Up Your Work Area
After preparing the tools, materials, and safety gear, set up the work area. Decide on what side of your home exterior to tackle first. If you have damaged vinyl siding, you can start the removal operation on that side.
Look at the surroundings and remove any obstacles. Move furniture, lawn equipment, or potted plants away from where you plan to work. Ensure to place the ladder in a stable area.
Assign an area where you can lay the panels. If you decide on reusing some, place a tarp to keep them clean.
Unlock the Vinyl Panel
To unlock the panels, bring the siding removal tool and pry bar.
Start by lifting a corner where you can insert the zip tool under the vinyl. Next, insert the pry bar near the removal tool and pull it until the lip comes off.
Remove the zip tool and use your fingers to glide along the panel.
Do it until the lip gets free all the way. Remember to stop once you can no longer reach a certain point. Readjust the ladder as you glide so you don’t trip or fall.
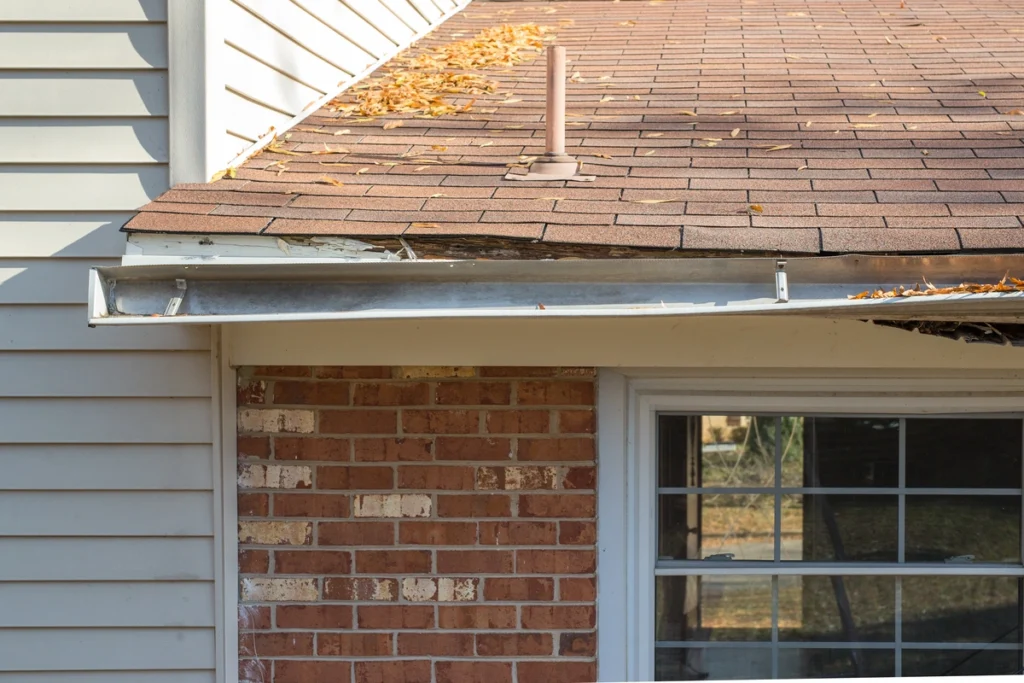
In some cases, the gutter connects with the vinyl siding. If you are in the same situation, remove the gutter helmet before removing the gutter. Doing so avoids unnecessary damage.
Slide the Panel Over
If there are no problems, loosen the bottom of the vinyl corner to make it overlap on the vertical edge.
You should now be ready to slide the panel over. With the corners out and a loose bottom lip, grab it on one side and slide it out. If you have someone helping you, pass it on to them.
Remove the Nails
A build-up of gunk and debris under the panels is normal. Start with a claw hammer to remove the nails.
Pull the nails out from left to right, and do not skip any. Missing even a single nail will make it more difficult to remove the siding. If you find it hard to remove a nail, pry it out with a pry bar.
Ensure to drop the nails on the bucket to avoid stepping on them.
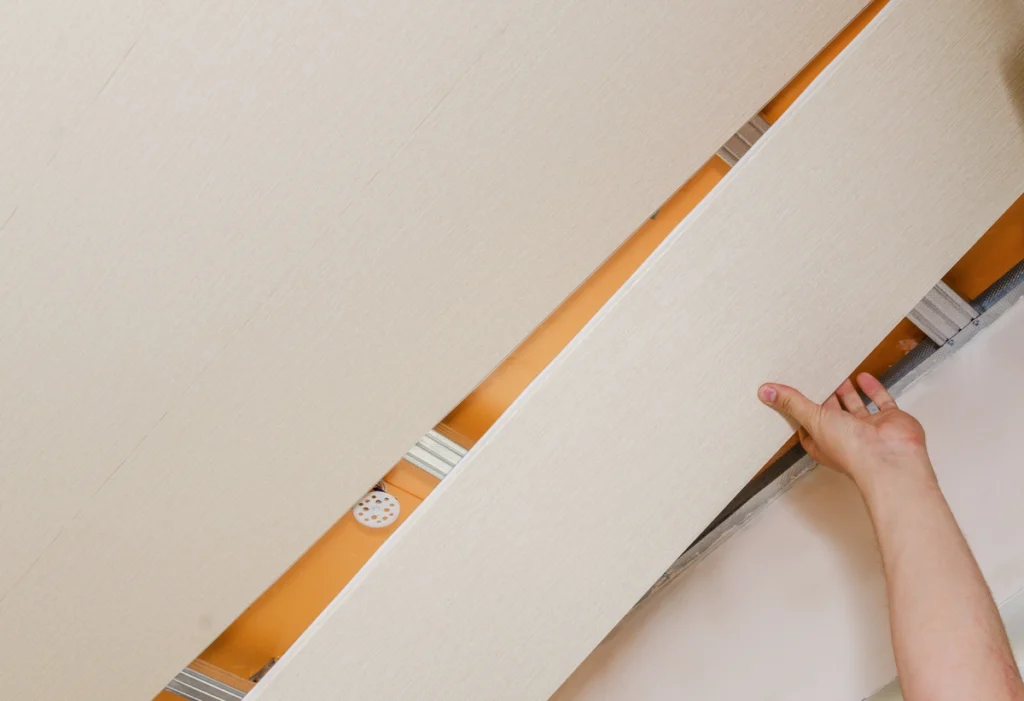
Take off the Siding
Once you’ve removed all the nails, you may remove the panel. First, place your palms on the siding. Apply pressure and pull the siding down until it pops free.
If the piece seems attached, pull it outward to free it from the channel. Check for remaining nails when the siding keeps getting stuck. You can use a pincer plier to extract embedded nails.
Take the time to inspect your roof for any damage while removing panels on top. This is an excellent opportunity to do some quick maintenance work and catch problems before they worsen.
Clean Your Surrounding
After removing the panels and siding, check the surrounding grounds for nails, even if you have a bucket for discarding nails. Use a lawn magnet to pick up metal objects you cannot see. Throw the nails in a garbage container.
Aside from the nails, clean the fallen debris when you remove the panels and siding.
Dispose of Vinyl Panels
Is your vinyl siding in good condition? Clean the siding with water and soap if you plan to reuse or donate it. For the panels, it’s best to throw them away with their damage.
You can rent a dumpster for large quantities or stick with your regular bin for a few pieces. Regardless of preference, ensure to dispose of the vinyl panels and sidings.
Replace Vinyl Siding
Many households use vinyl siding to protect their homes from harsh elements. Without them, your home’s exterior is more vulnerable to damage. We recommend removing the old vinyl siding only when you’re ready to replace it.
If you only remove a piece, you can cover the area with a tarp until you get a new one. Replacing vinyl siding is crucial to keeping your property in good condition.
A Guide on How to Remove Vinyl Siding

Now you know how to remove vinyl siding. Vinyl siding lasts for years and is affordable. However, exposure to elements, seldom maintenance, and old age can test its durability.
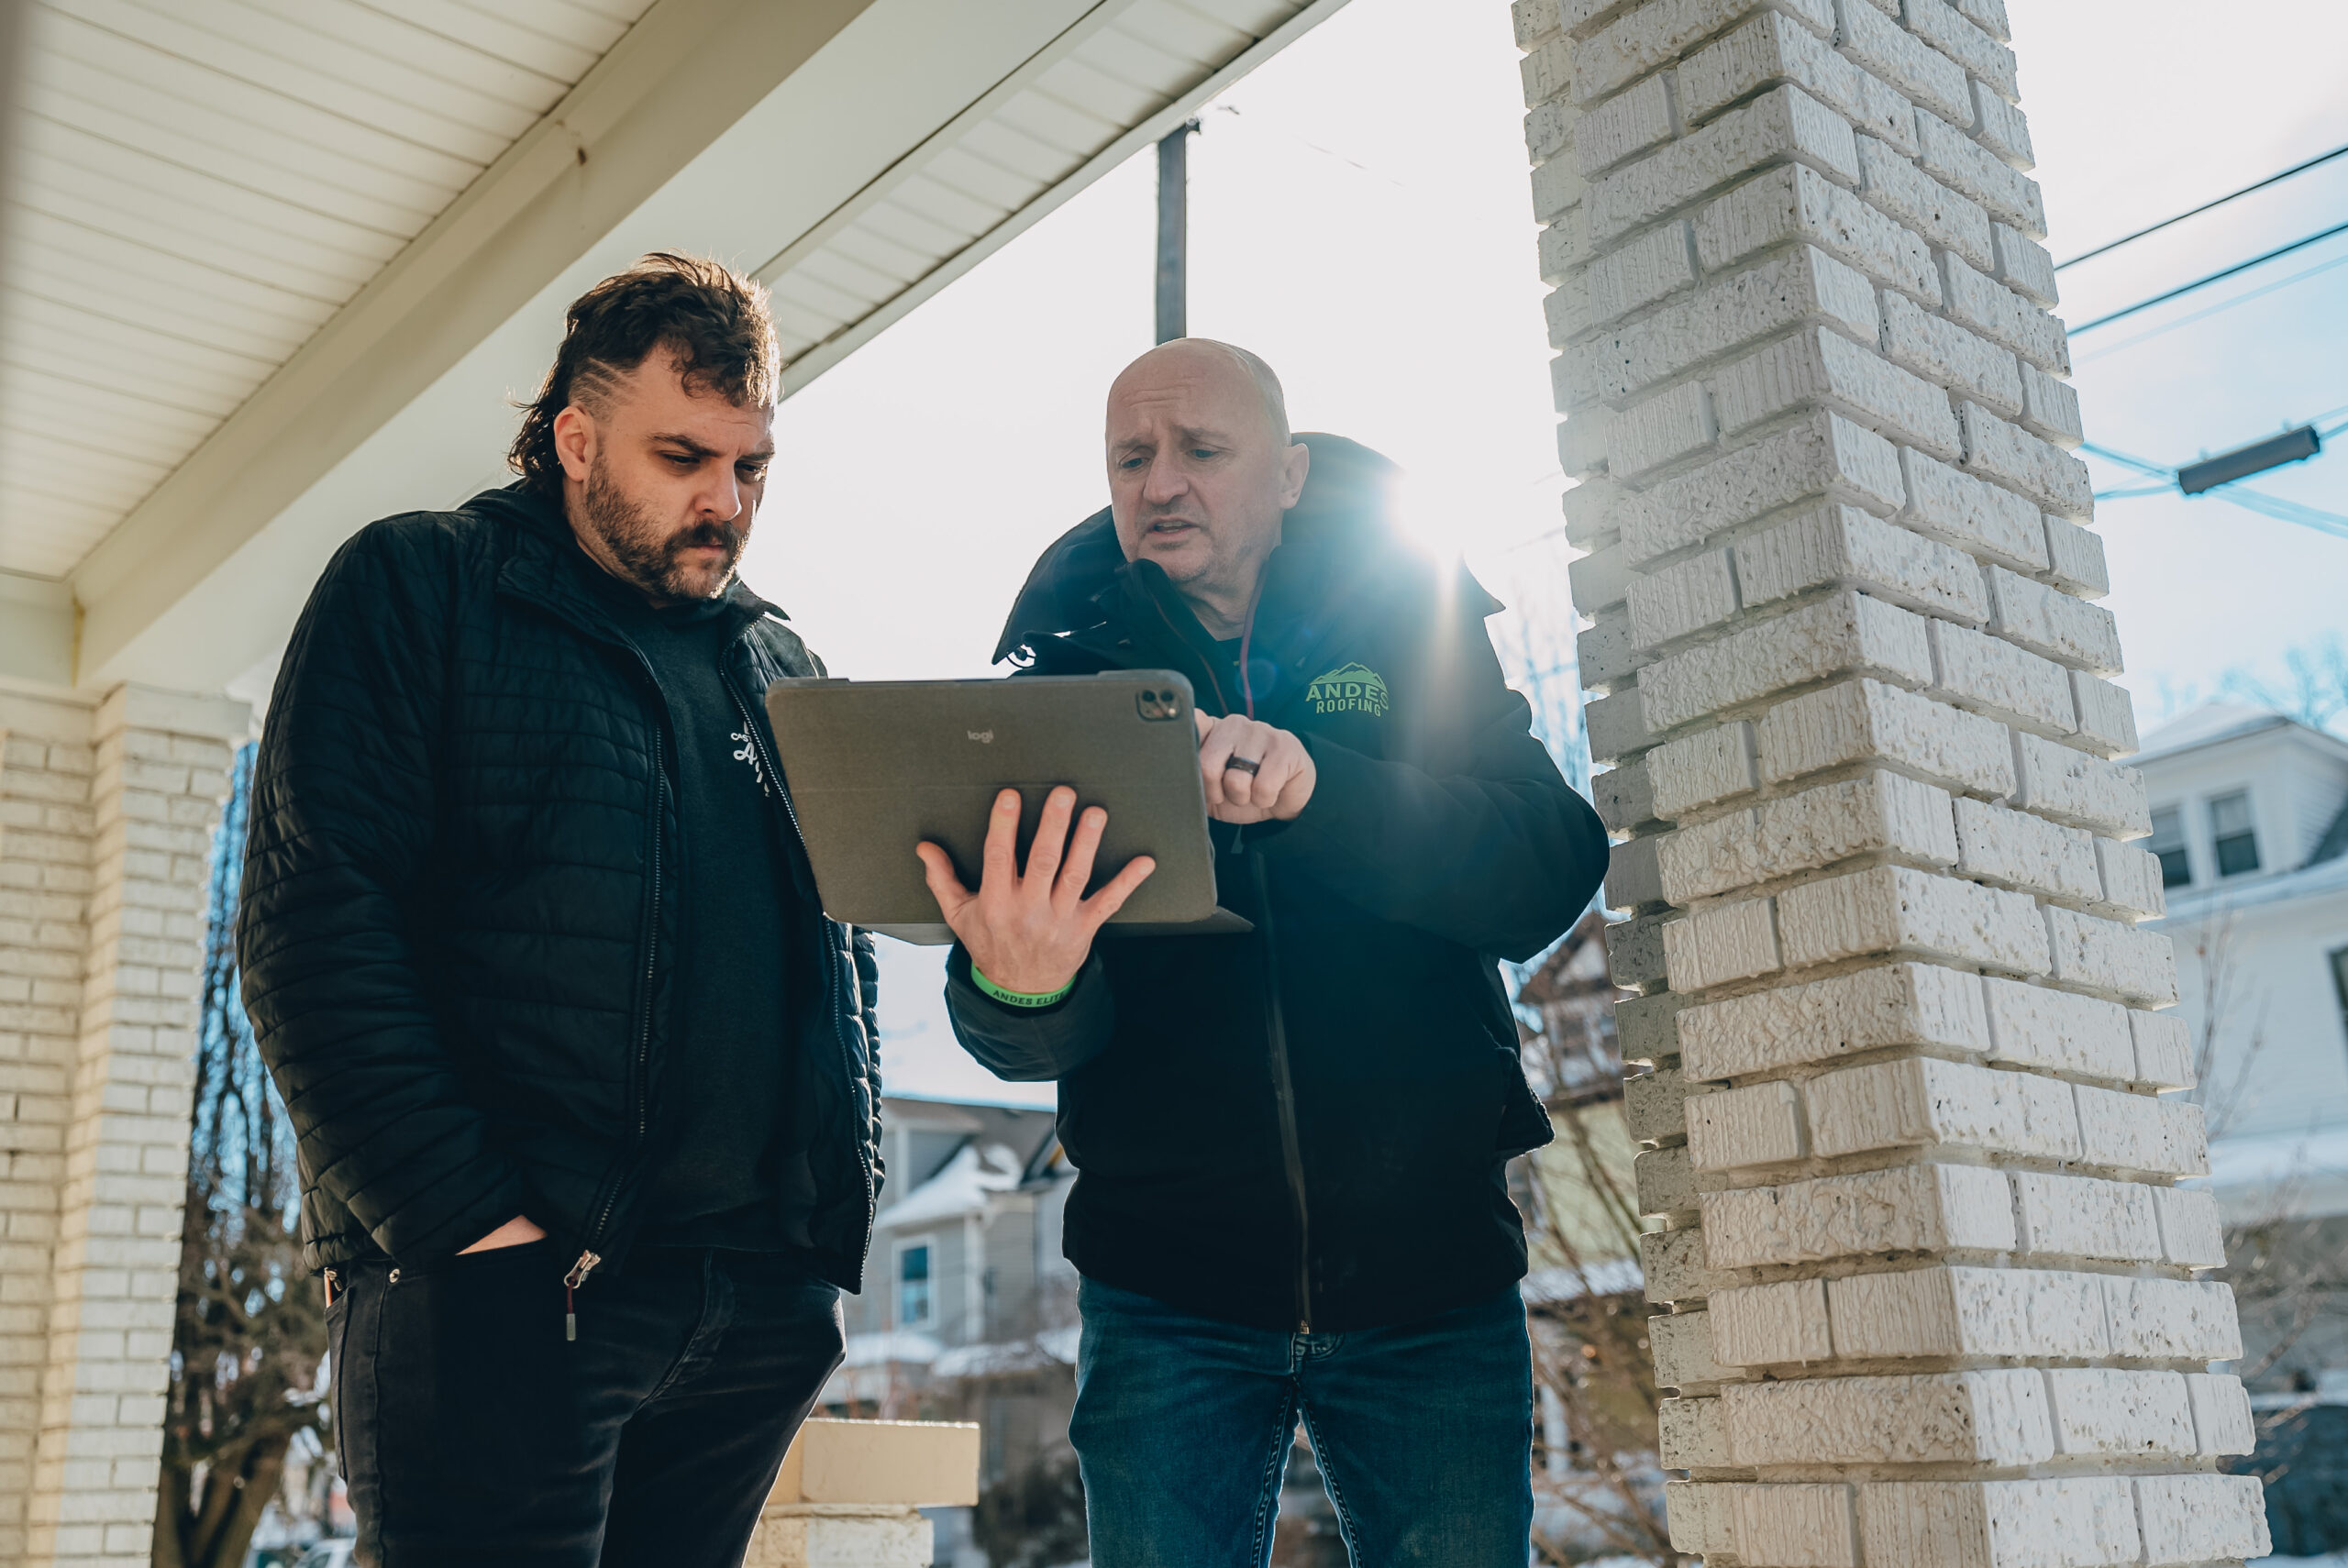
Do you need professional help? Andes Roofing offers quality roof and siding services in Louisville and Southern Indiana. If you have queries about our services, you can reach us here!