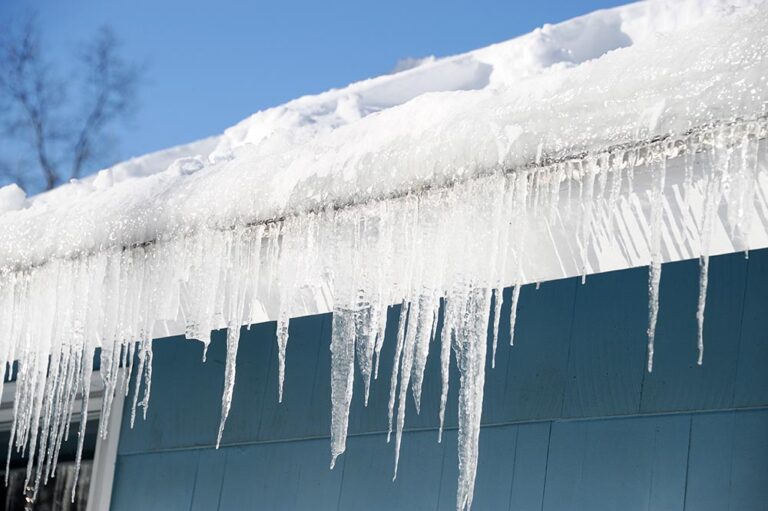
Years of unmanaged roof maintenance can lead to worn down shingle roof that can’t protect your home from rainfall and debris damage.
It might be time to replace your roof shingles. Calling a professional roofing contractor is expensive but well worth the service.
However, you can save money and spend a day on a roofing project. We are going to explain to you how to remove shingles from roofs, the process is hard work but doable with the right tools and planning.
This how-to guide will show you the removal process of roofing shingles and how you can do it in your own home.
When is it Time to Replace Your Roof Shingles?
Signs of damaged roof shingles are hard to see from the ground, but with a closer look, you can spot the causes for a needed replacement.
If the edges of your shingles curl upwards, it is a sign that too much water has built-up over time and worn down the materials.
Moss and Algae indicate areas where water is pooling around the roof surfaces and creating habitats. Check for cracks and possible leak holes that also hide these festering plants.
Asphalt shingles have grains that can be swept by the rain and clutter your gutters. Finding those granules sticking to the bottom of the rain gutters tell you that the shingles need a replacement.
Also, if you haven’t maintained your roof in over 20 years, a simple inspection can find the faults and recommend new shingles.
What Materials Do You Need to Replace Your Old Shingles?
The shingle removal process is as risky as any other carpeting job. You want to have all the tools and equipment to tear shingles safely without injuring yourself.
When starting your roofing project, be sure to gather these materials first:
- Sturdy Ladders
- Safety Glasses
- Hammer
- Hammer Tacks
- Plastic Tarps
- Roofing Nails
- Roofing Shovel
- Pry Bar
- Push Brooms
- Plywood Sheets
- Adjustable Roof Jacks
- Chalk Line
- Staples
- Ice and Water Barrier
How to Remove Shingles from Roof: Step-By-Step Guide
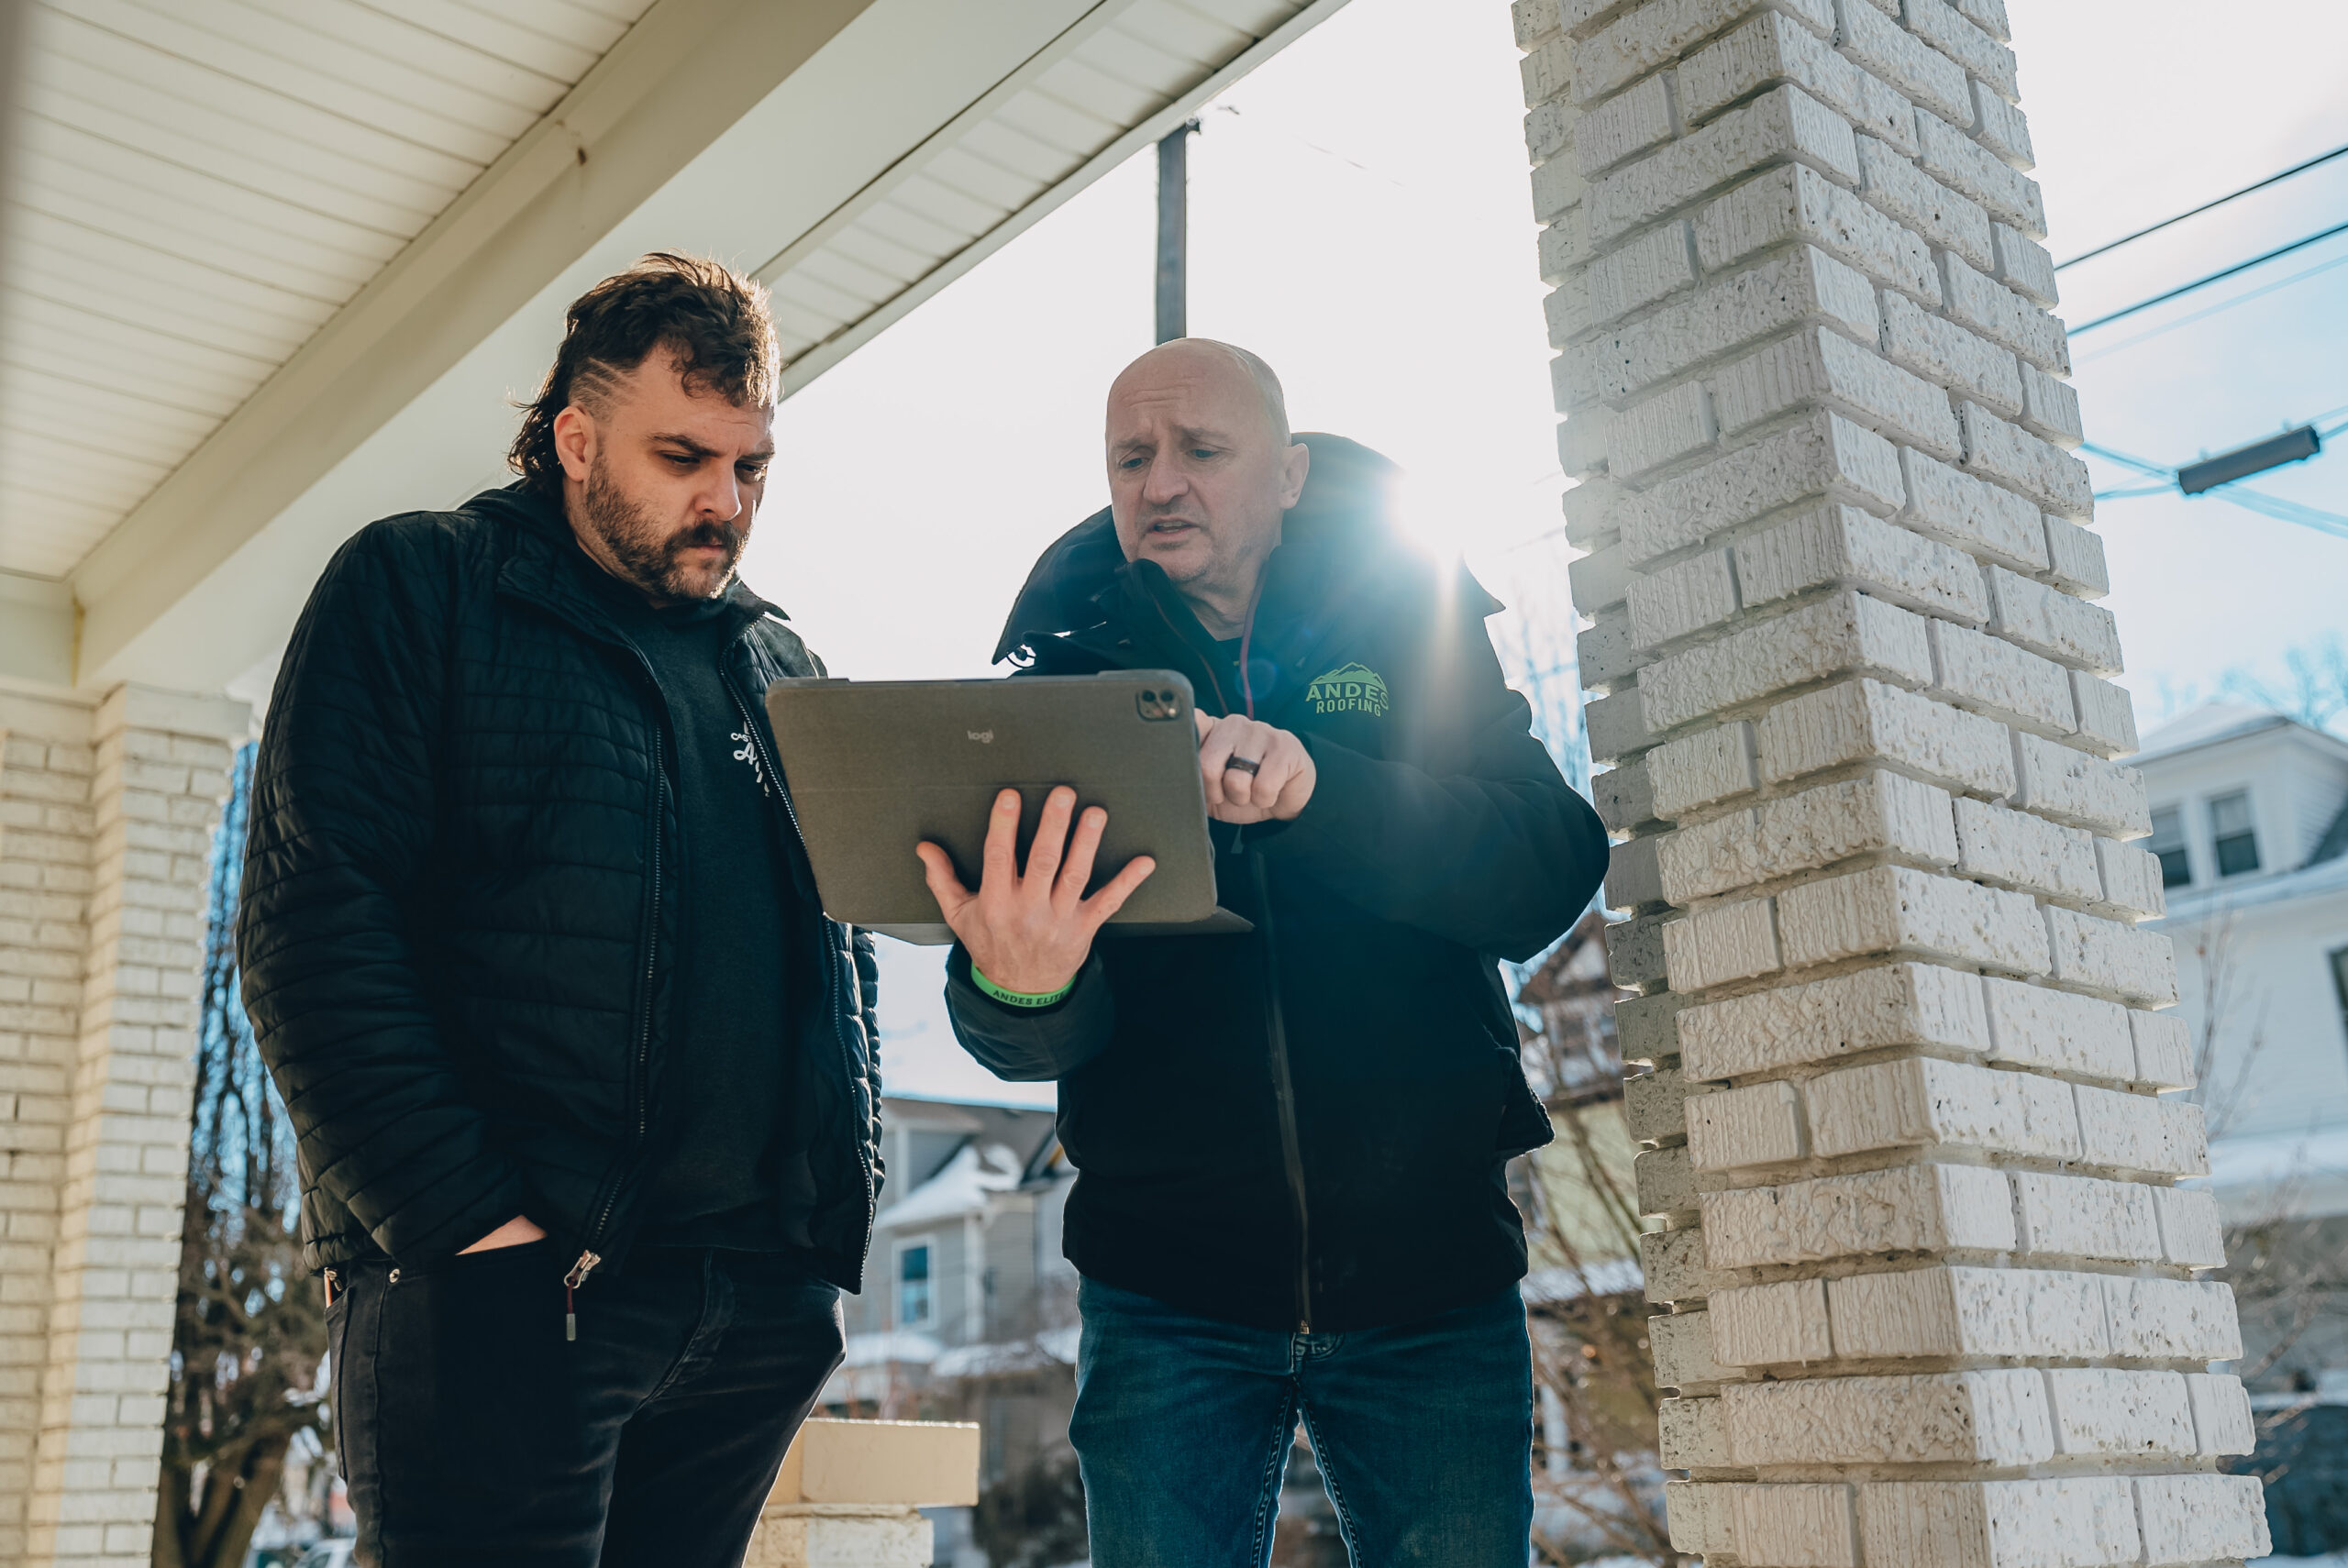
Before tearing off old roof shingles, get in touch with a roofing professional to learn how to get a building permit and understand the local building codes.
Pick a clear day to work and follow these instructions to remove roof shingles.
Establish a Stable Working Area
Unless you’re working on a flat surface, there’s a good chance you might fall off the sloping roof during the removal process. Removed shingles, stray nails, and other debris can also roll off the roof edge and become a hazard.
Take precautions against falling debris by placing a roof jack near the working area and nailing down a 2×10 wooden board. This placement will become a border to block any debris from rolling off.
Consider renting a trash container and putting it close to the house. You won’t have to climb down the ladder so often and can throw away trash from the top of the roof.
Install a safety harness system to secure your position on the roof. Wearing rubber-soled shoes and long pants will keep you from slipping and injuring your skin when tearing off the shingles.
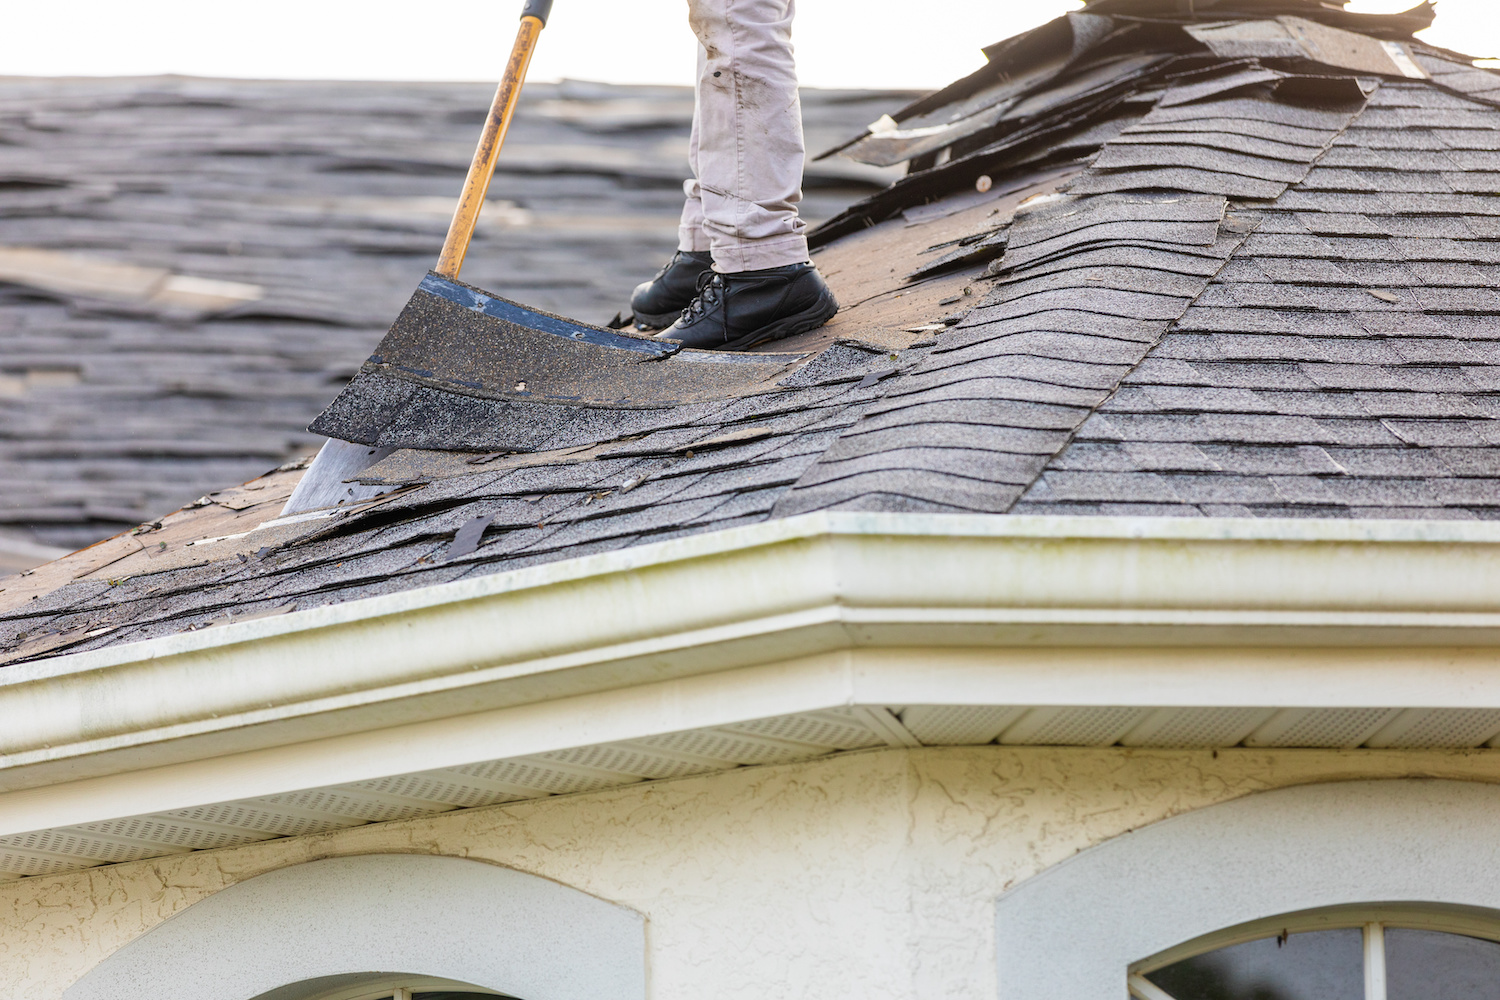
Strip the Roof from the Peak
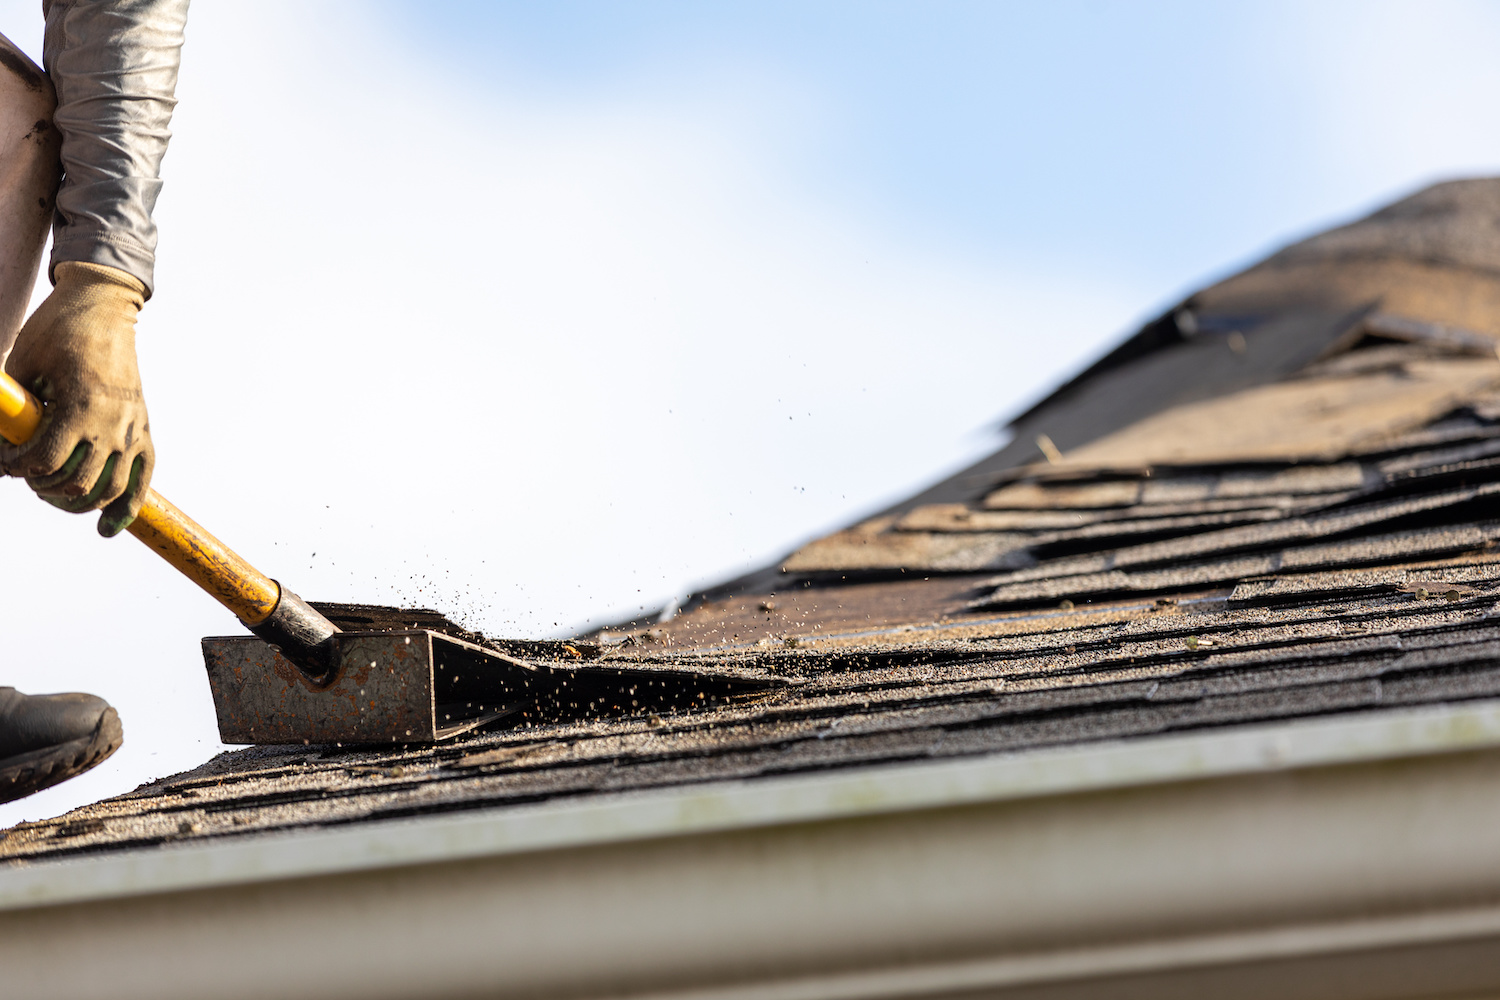
Start tearing off the shingles from the peak of the roof. Use a roofing shovel or garden fork to remove the ridge caps and top courses of shingles.
As you pry the caps loose, allow them to slide towards the placed roof jacks. Any remaining caps can be collected and tossed into the nearby trash container.
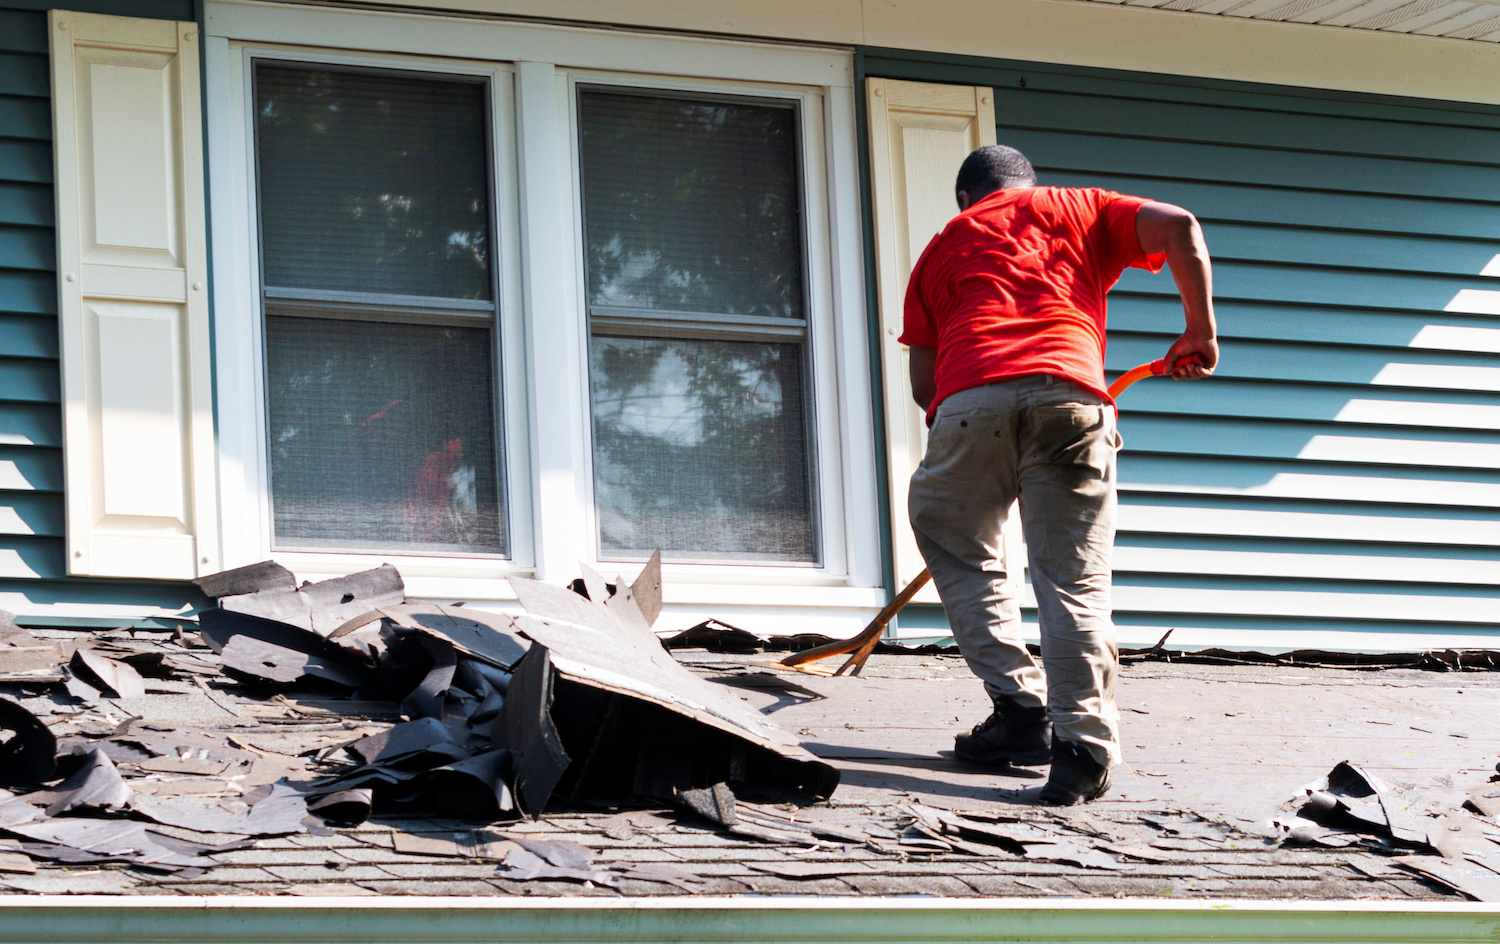
Work Your Way Downwards
After you remove the ridge caps, start prying the shingles and felt paper off the roof. Be careful not to pull too hard and avoid getting hit by loose nails.
Continue to work through the shingles in sections. Keep pushing them multiple layers into a ball and lead it towards the roof jacks. Once you pile enough shingles, toss them into a trash container or ground tarp to clear space and repeat the process.
Be cautious of soft areas on the roof. Some parts of the roof sheathing might be rotting and easy to break through with the wrong step.
Evaluate Nearby Flashing
While removing shingles, take the chance to examine flashing around your chimneys, skylights, and other exterior walls.
Carefully remove metal flashing if you spot rust or cracks. Skylight and chimney flashings are worth keeping if they are still in good condition. Otherwise, pry off the nails and shingles lying underneath.
Tear Shingles Along the Edges
By this point, you have completely removed all the shingles from the top of the roof’s peak. You can now begin working on the singles near the roof edges.
Avoid removing the shingles and keep them loose along the eaves. Rely on the safety harness to hold you steady as your hands tug off the loose ends of the singles.
Some roofs have ice and water barrier near the edges. You can use a roofing shovel to pry it loose, but if the adhesive is too strong, leave it and cover it up with new underlayment.
Remove Valley Flashing and Vent Flashing
Once removing the shingles from the edges, you can now work on prying off the flashing from the valleys and plumbing vents.
These flashings carry the same lifespan as old shingles, so now would be the best time for a replacement.
Clean the Roof Area
Now that you have thrown away all the remaining shingles, you can remove all remaining protruding nails and sweep the roof from debris and shingle granules.
Afterward, button up the roof with a new layer of felt and an ice and water barrier. With a chalk line, map out the edge of the gutter flashing and align the ice barrier accordingly.
Repeat this process and staple until the barrier and felt paper cover the entire roof for protection.
Ask The Pros For Help
At Andes Roofing, we understand the vital role a well-maintained roof plays in protecting your home or business. Our commitment to excellence, quality materials, and skilled craftsmanship ensures that your roof replacement project will be a success. Don’t wait until minor issues escalate into major problems; contact us today for a consultation.