Sometimes, storms or tree branches can cause slight damage to your roof. Or perhaps there is a slight roof leak causing your energy bill to rise. Don’t panic. If you have a few handy skills, not to mention a few tools, you can quickly fix the problem yourself.
That said, there is nothing wrong with contacting your local roofing contractor to get a second opinion about how to patch a roof. It’s far better to be safe than sorry when dealing with a leaking roof, especially if you may need a whole roof replacement.
Materials Needed
Before starting your roof leak repair, ensure you have the proper safety equipment:
- Fall protection kit (you can find these at hardware retailers)
- Ladder
- Scaffolding, if necessary
As for actual roofing materials, have the following things on hand for tackling a leak:
- Hammer
- Roofing nails
- Pry bar or flat bar
- Utility knife
- Caulk gun
- Tube of roof sealant
- Roofing cement
- Roof sheathing
- Extra shingles in your preferred material
Signs You Need To Patch Your Roof
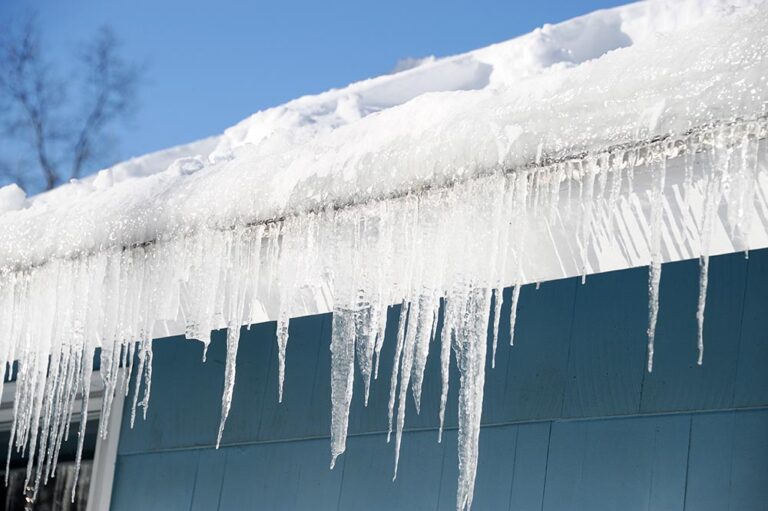
Quickly, we want to point out some obvious signs that your roof needs repairing and where you might find roof leaks.
- Water stains on the ceiling
- Missing shingles
- Broken seams in the roof or between shingles
- Curled shingles
- Shingles that are a darker color than the rest
- Mold growth
- Peeling paint
- Moisture in your attic
- Sunlight coming through your attic roof
- Discoloration in siding
How To Replace Damaged Shingles
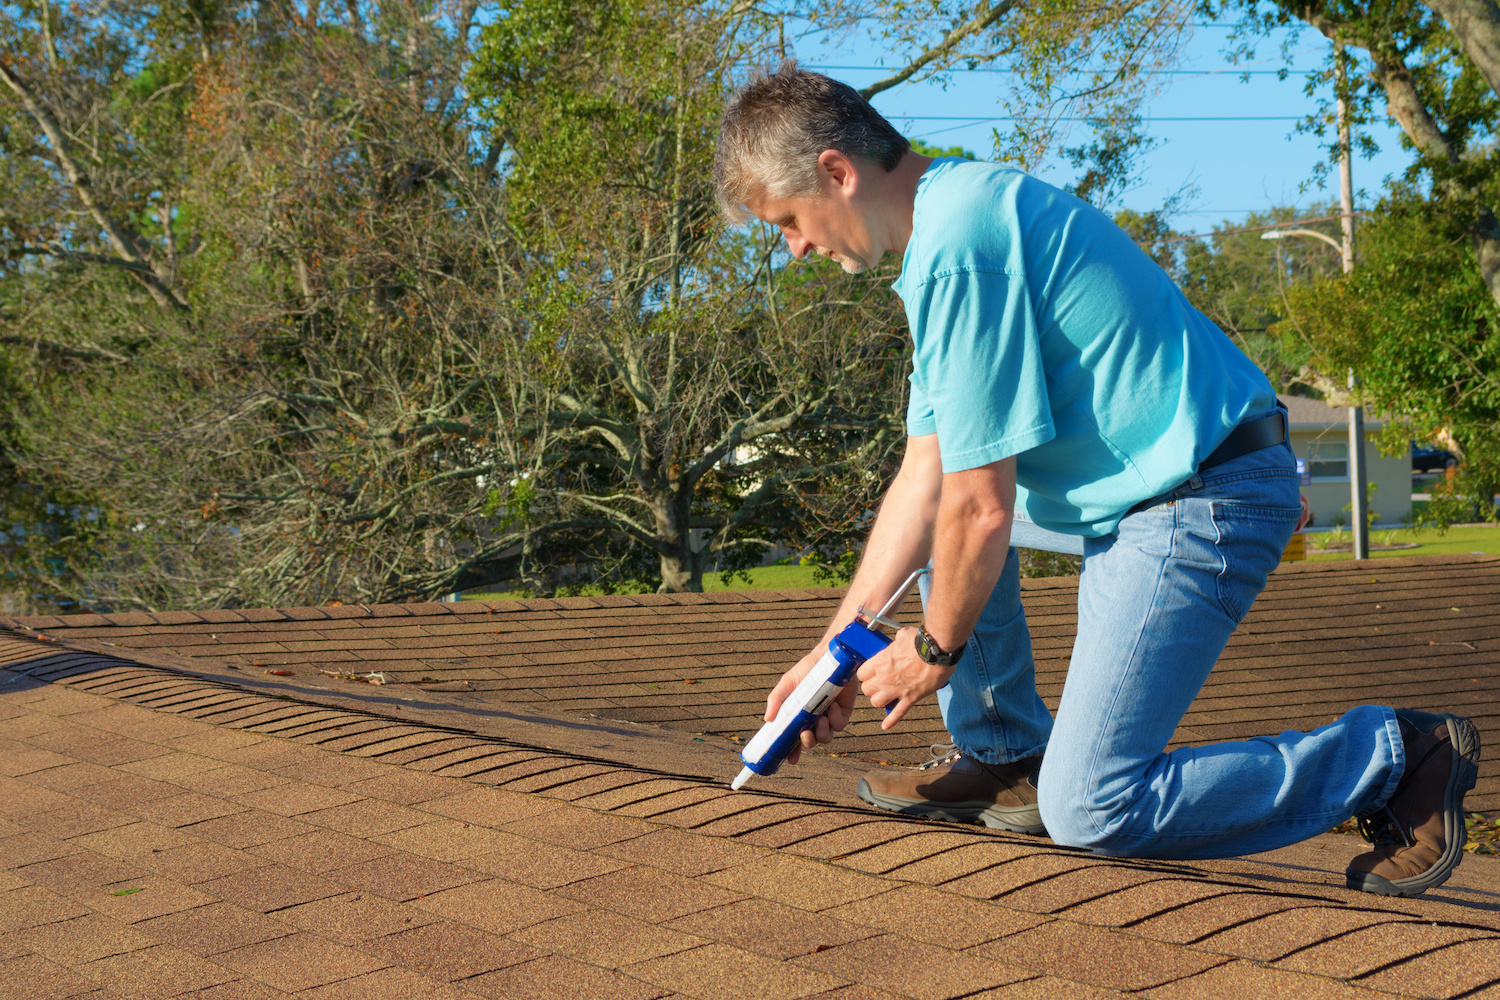
Removing old shingles will take extra care and patience, so set aside a chunk of time to tackle your leaky roof, preferably on a fair-weather day. If it’s too cold, shingles can become brittle and warm weather will cause shingles to tear away from the adhesive.
Remember that different roof types have different repair timelines. Asphalt shingles, for example, can protect a home for up to 30 years or more if taken good care of. You won’t find many curled back shingles on an asphalt shingle roof.
- To remove an old shingle, gently push the edge of the pry bar underneath the exposed edge. This will carefully break the old adhesive seal.
- Use the bar to find the eight nails, which you’ll usually find along the top and sides of the shingle.
- Center a nail head into the bar’s notch. Use a hammer to drive the bar under the nail to force it up from the shingle.
- Repeat until all eight nails are loose from the shingle, and then remove the shingle.
- Slide a new shingle into the old shingle’s place and nail it down. Make sure it goes into the spot above the black adhesive line.
- Apply sealant beneath the edges if you’ve loosened any neighboring shingles.
- Apply a coat of sealant on the new shingle’s nail heads.
Repairing a Leak in Your Roofing Membrane
Repairing a leak in your roofing membrane will take more time and materials.
Some materials you’ll need to repair a leak will include:
- EPDM rubber that matches your roof’s membrane
- Paint roller
- Caulk gun
- Rubber-to-rubber roofing cement
- Paintbrush
- Putty knife
- Acetone
- Roof sealant
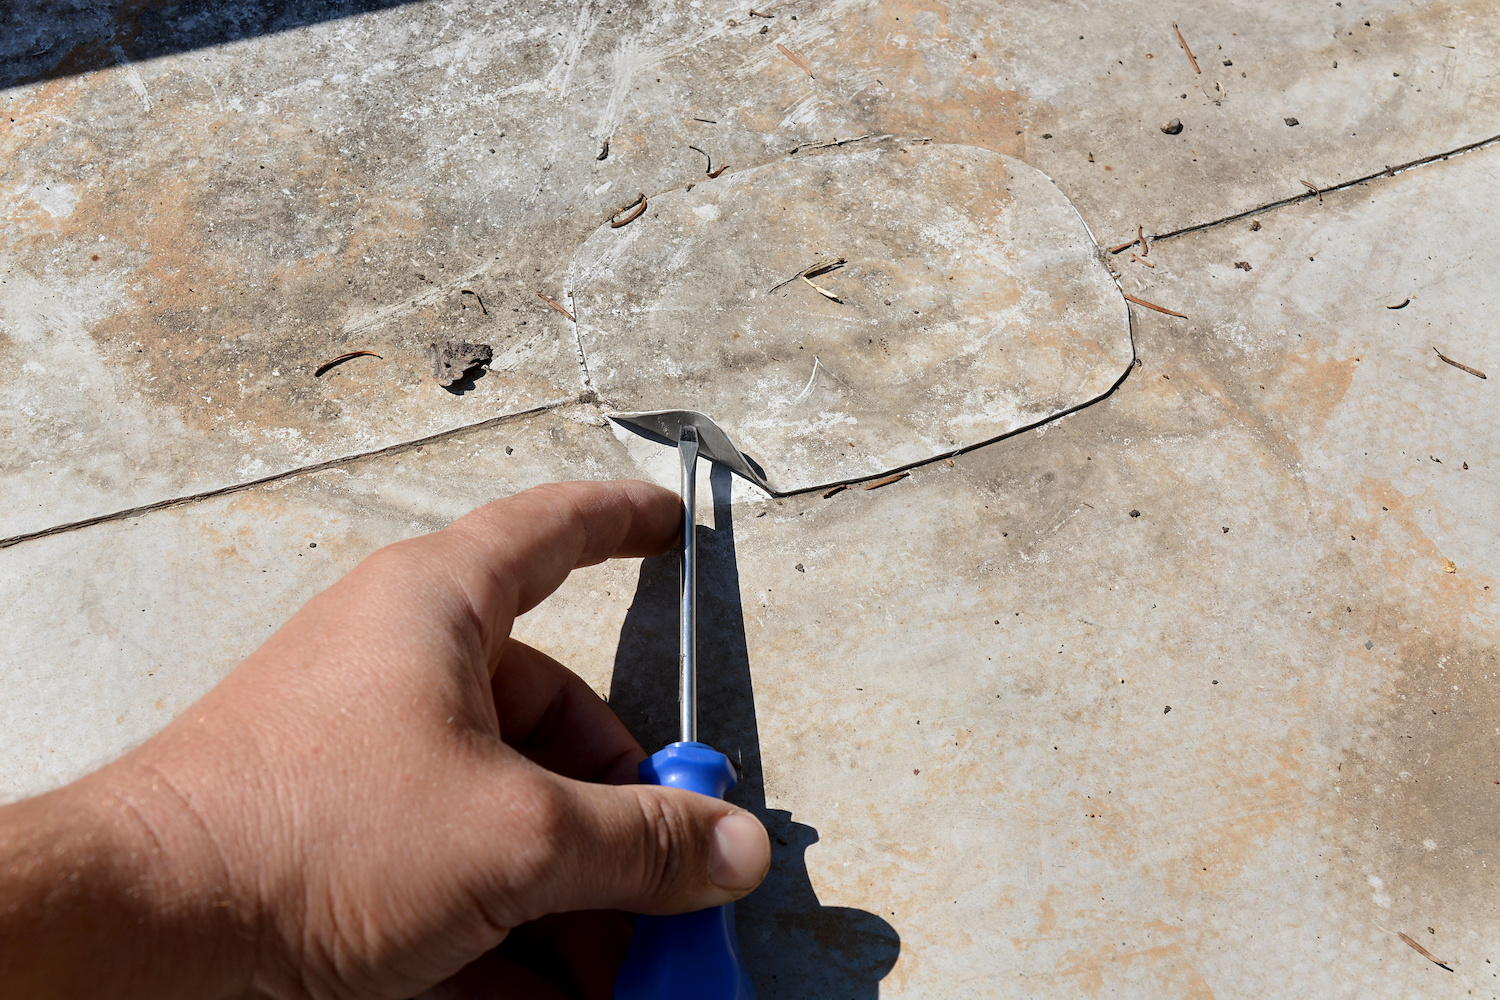
Now the steps to repair a leak.
- You first need to determine if the roof substrate has water damage. Cut and peel away the membrane around the leak. If you find water damage, cut away the membrane to remove the damaged high-density fiberboard.
- Set aside the same screws and washers from the old fiberboard.
- Cut a new membrane piece and screw it in place.
- Cut a new membrane piece longer than the original by a few inches.
- Lay the new membrane piece over the damage. Mark its outline shape.
- Lay the new patch over the damaged area and mark its outline.
- Clean both membrane pieces with acetone.
- Apply a generous amount of roof cement to the back of the new patch and the roof surface you outlined. Let the roof cement dry completely.
- Place the new patch over the outlined roof and press the patch down starting from one end. Smooth the patch surface as you go slowly along.
- Use the caulk gun to apply a small amount of hardened caulk sealant around the patch’s edges.
How To Prevent Further Damage To Your Roof
Now that you’ve patched up your leaky roof, what else can you do to prevent more roof damage?
Roof Vents
Roof vents come in different forms, such as the classic turbine that spins with the wind, ridge vents, vent pipe, or box vents. These will draw moisture out of your roof into the air, preventing mold or water stains from forming.
New Flashing
Flashing is a piece of galvanized steel or aluminum that acts as an ice and water barrier on critical parts of the roof. They slant down to guide water away from places where moisture may gather. Flashing does not necessarily prevent a leaky roof, but it’s still an excellent level of protection for your ceiling.
Step flashing, for example, bends ninety degrees in the center for roof-to-wall flashing. Multiple layers of step flashing keep water flowing away from the walls.
Getting a rubber boot for extra protection on each flashing might also be a good idea.
Tar Paper
This material also acts as a barrier to prevent water-damaged wood or insulation, especially if you have drywall walls.
Similarly, ensure that your roof sheathing is not damaged since it provides extra support and protects your roof from wood rot. Even a little wood rot can compromise the stability of your whole roof. We recommend finding sheathing that is roughly 7/16 an inch or just under a half-inch.
Final Thoughts
Before you race to get a new roof entirely, you can potentially fix some minor issues yourself. Once you find the leak’s location in your roof, you can repair most roofs with basic materials and a little patience, putting your home back in good shape.
Remember to reach out to a professional roofer if you need an inspection or have any questions about how to patch a roof.