When it comes to your house, roof leaks can be a significant issue causing costly repairs. Roof leaks often happen outside your home and can be easy to notice, but leaks from within are harder to detect and may require calling a professional. Understanding how a leak occurs and knowing how to fix it from the inside can save you lots of time, money, and headaches!
Taking care of your roof is a crucial part of home maintenance. Roofs are one of the essential features of a house, as they protect against water damage and weather damage. If you have noticed leaks in your home, then this article will help guide you on how to fix a leaking roof from the inside.
Step 1: Inspect the Attic
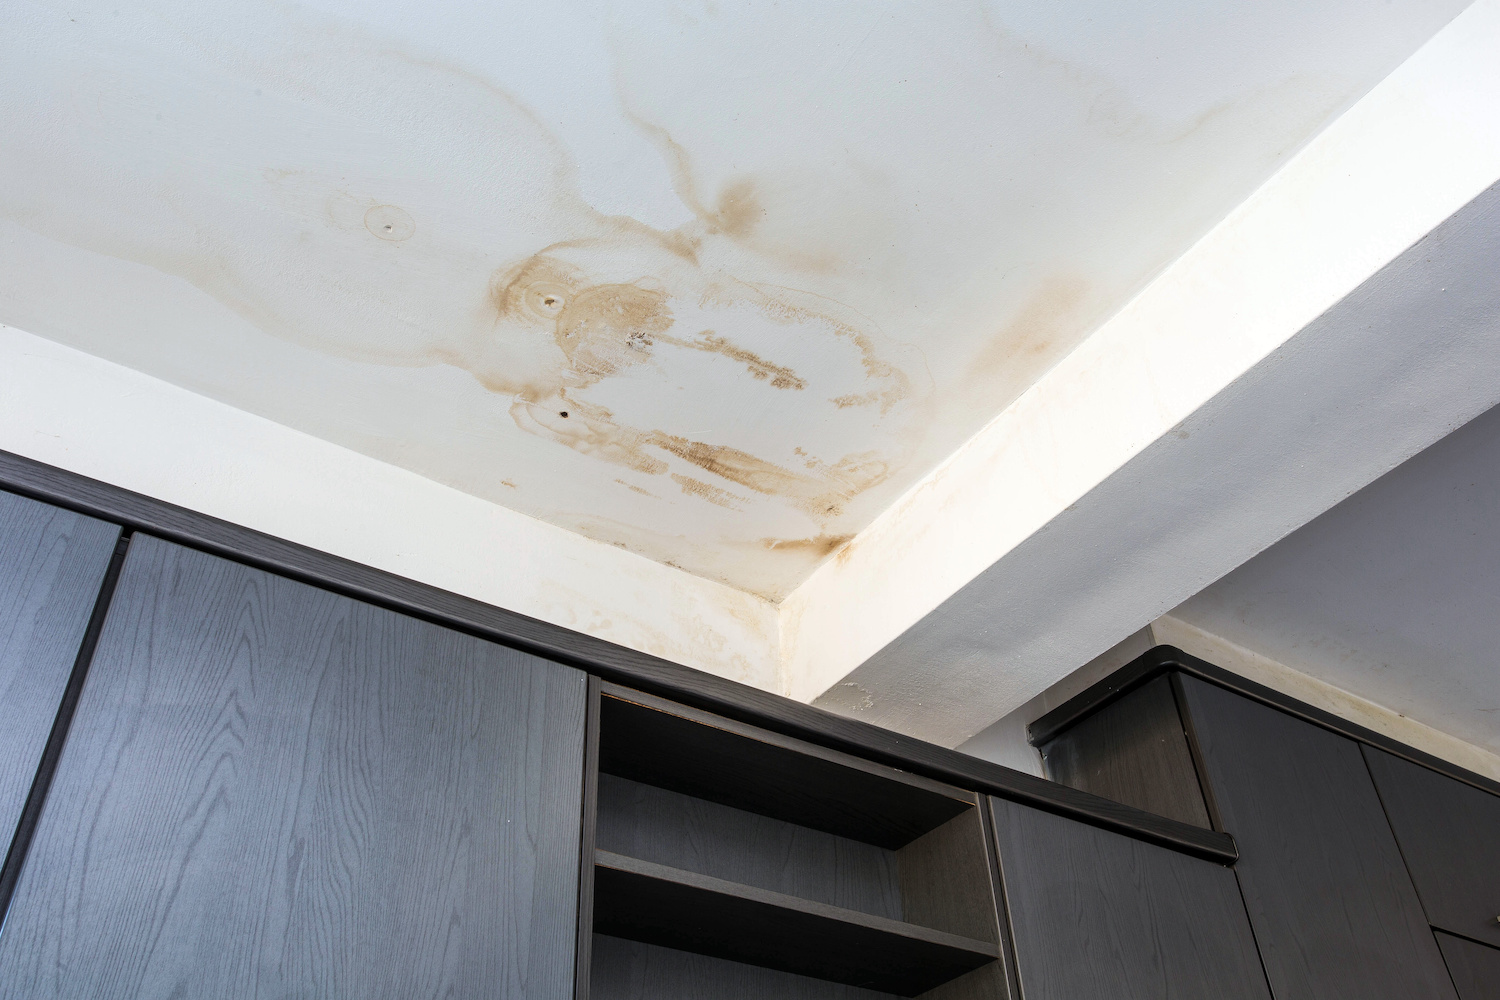
Inspect the attic. If you find any signs that water is coming into your home through a leaky roof, it’s time to take action. Look for water stains on the ceiling joists and check for mold or mildew, as well as other signs of water damage on the roof covering. If there are signs of roof leaks, you should consider getting an expert opinion before going any further with repairs.
If you notice that your attic has a musty smell, it could be a sign of mold. This is especially important if you have allergies or asthma and young children in the house. If mold grows in your attic, you should consider calling a professional to clean it out quickly before it spreads to other parts of your home.

Step 2: Identify and Locate the Leak
To find the source of the leak, use a flashlight to look for water stains on your ceiling. If you see any signs of moisture, chances are good that there’s a leak somewhere in your home.
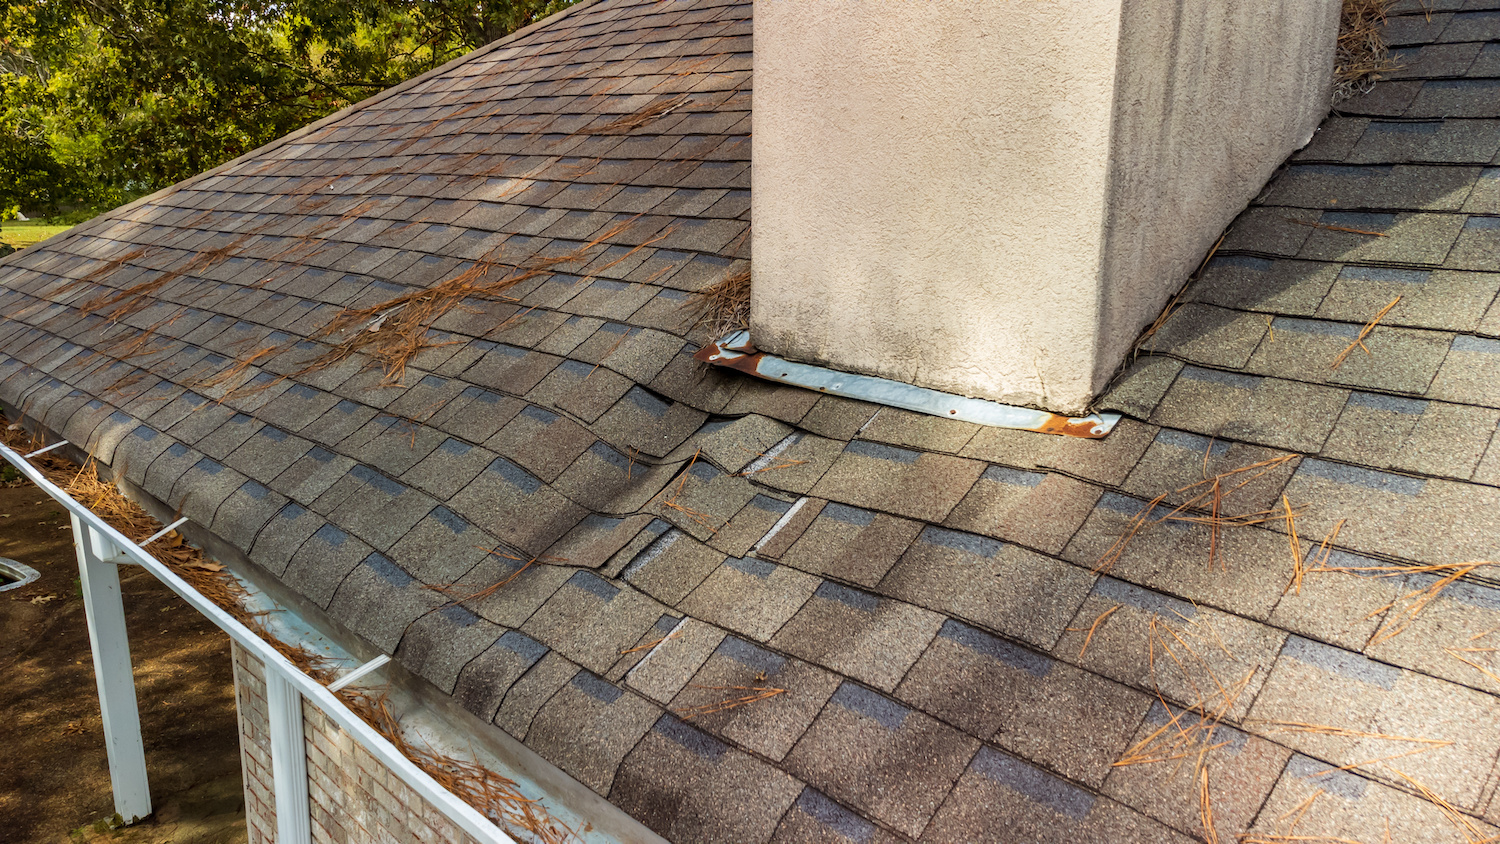
You can also check the attic, roof covering and other areas of your home where pipes, vents, or chimneys enter to see if they’re leaking. You can also check around windows and doors for any signs of leaks because these often cause problems with leaky roofs. Suppose you notice any signs of leakage in one area or another. In that case, this indicates that there may be some plumbing problem present within your house that needs fixing before it causes more damage than just a simple fixable roof leak could cause!
Step 3: Cut Back the Shingles
You must cut back the shingles and expose the flashing to fix the leak from the inside. This will allow access to it so that you can replace it or seal it around it.
Use a utility knife to score back each shingle layer until you reach an entire section of flashing. Then use a hammer and chisel to remove all damaged shingles (or just tear them off), being careful not to damage any other areas of your roof.
Next, use a power drill with a screwdriver bit attached (a brad point bit works well) to remove any nails holding the remaining sections of the shingle into place.
Once you have removed all the shingles, lay down drop cloths around the area and clear away any debris that may have fallen into your yard. Then use a putty knife or other scraper to remove any remaining roofing tar paper. If it is damaged beyond repair, you will need to replace it before proceeding with the next step.
Step 4: Patch the Hole on the Roof
Once you’ve removed the shingle, use a putty knife or other flat tool to remove any pieces of wood and debris from the hole in your roof. Apply roofing cement to the repair patch and set it over the hole. If there is any gap between the temporary patch and your roof, apply a small amount of additional cement along that edge before pressing it down firmly with your hand or foot. This will ensure that all edges are completely sealed together, and no rainwater can get through.
Now that you’ve patched up this leaky area on your roof, it’s time to secure everything back in place. Use a shingle nailer to drive two nails through each corner of the temporary patch into both sides of your existing shingles—this helps prevent future leaks by keeping standing water out from underneath them entirely.

Step 5: Shingle Over the Flashing Patch To Match the Existing Roof
Now that you’ve replaced the flashing and sealant around your gutter, it’s time for a roof patch. To finish the job, use shingles that match the rest of your home’s exterior. You’ll want to make sure they’re the same size as well. We recommend using a shingle nailer to complete this step correctly. The last thing you want is a sagging roof with gaps between shingles!
So now that you’ve got all your materials together and know how to use them properly let’s start repairing that leaking roof to prevent further damage.
Step 6: Map the Roof Leak
Next, you’ll need to map the location of your leak on a map of your roof. Use a measuring tape to pinpoint the leak’s location before you leave your attic. When it has stopped raining, use this same measurement and follow it outside to find roof leaks.
Once you have found where leaking hole is, start adding more roofing tar to seal up those cracks and holes until they’re completely covered.
It Is Possible To Fix a Leaky Roof From Inside Your House, but It Is Sometimes Better To Call in a Professional
If you have some DIY experience and don’t mind getting your hands dirty, it is possible to repair a leaky roof from inside your home. However, there are many reasons why hiring a professional might be the better option. Roofing professional can offer you a temporary solution or can recommend a roof replacement.
It’s important to know what you are doing before attempting a repair on your own. Being prepared for the job will make things go more smoothly:
- Check for leaks before starting so you can correctly identify where they are happening.
- Carry all of the necessary tools into place.
- Use safety gear such as goggles and gloves.
- Take care not to damage any surrounding areas when making roof leak repair, and follow manufacturer guidelines closely when cutting into shingles or other materials (since these may vary).
Conclusion
It’s essential to fix a leaking roof from the inside as soon as possible. If you have a leak that you cannot locate, contact a professional roofer who will conduct emergency roof repair service to you help determine where the leak is coming from and take care of it.


