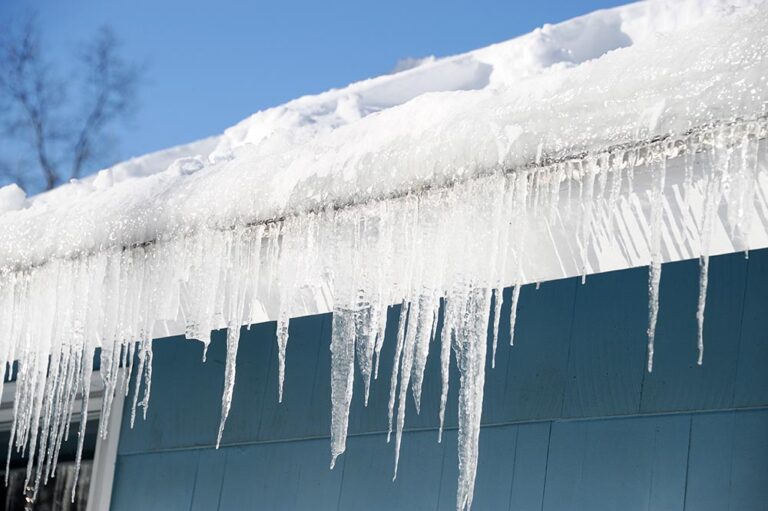
When it comes to roofs, safety and security should always come first. Ensuring that no objects can affect your roof’s structural integrity is essential for keeping your home safe from the elements. But when shingles start to wear down over time, how do you go about replacing them? Well, in this blog post, we’ll discuss how to identify damaged roof shingles and how to replace them with new ones. Read on for more info!
7 Things to Look for During a Roof Inspection
The condition of your home’s roofing materials will tell you everything you need to know about the health of your roof. Here are a few signs to look out for:
1) Missing Shingles
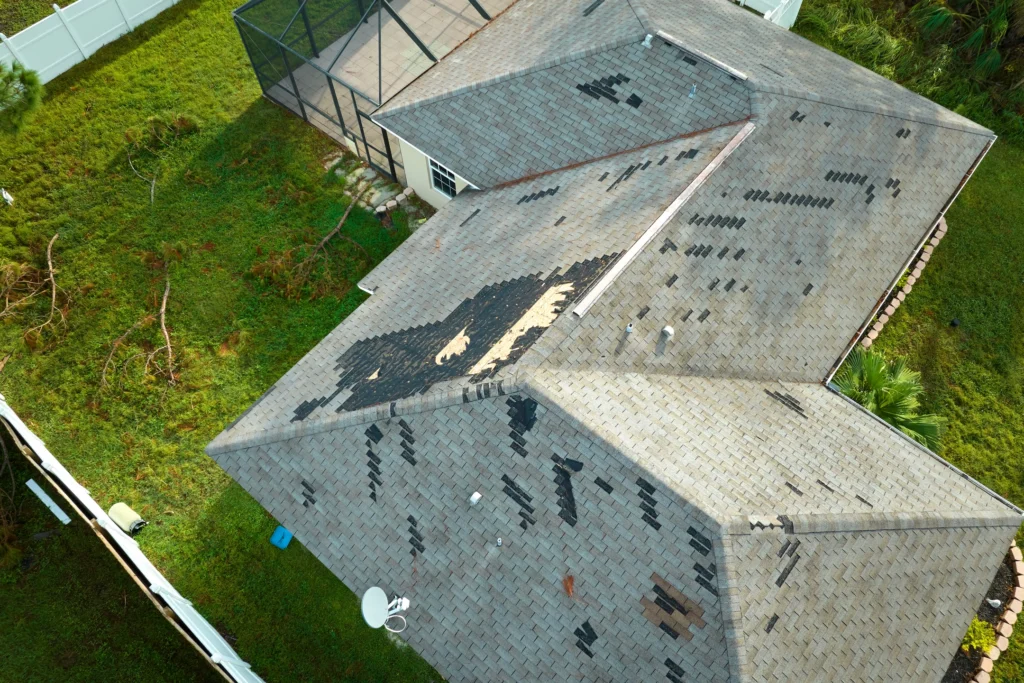
Shingles may become loose and blow away in high winds, leaving bald spots on the roof. Be sure to look for any signs of missing shingles. In most cases, if shingles have fallen off of your roof, you’ll see them on the ground or in your gutters. Missing shingles pose a huge threat to your home’s safety, so you should have them replaced as soon as possible.
2) Curling or Cracking Shingles
Shingles can curl, crack, or split due to age or extreme weather conditions. Therefore, it’s best to inspect the shingles on your roof and look for signs of curling or splitting. If the shingles on your roof are curling, they’ll look like cups or waves. This isn’t normal because asphalt shingles should always lie flat. Also, if the shingles are cracked, you’ll see gaps in them. That’s an issue that needs to be fixed right away.
3) Blistering Shingles
Excessive heat can cause shingles to blister, which means small bubbles form on their surface. When performing a roof inspection, check for blistering. If you spot blisters on your shingles, it’s a good idea to reach out to a roofing contractor.
4) Flaking Shingles
As your roof begins to age, the granules on the shingles may start to wear away. This often results in the shingles becoming flaky or brittle, and they may even start to chip away. If you notice flaking shingles, that’s a telltale sign that your roof shingles are in poor condition.
5) Bruised Shingles
Shingles usually become bruised when hail or other debris impacts them. To inspect for bruising, you’ll need to be up close so that you can check the shingles for discoloration or other indicators of damage. This requires that you get on the roof and carefully examine the shingles. Checking for bruising requires an extreme amount of caution, but it’s less hassle to allow an experienced roofer to do the inspection for you.
6) Your Roof’s Appearance
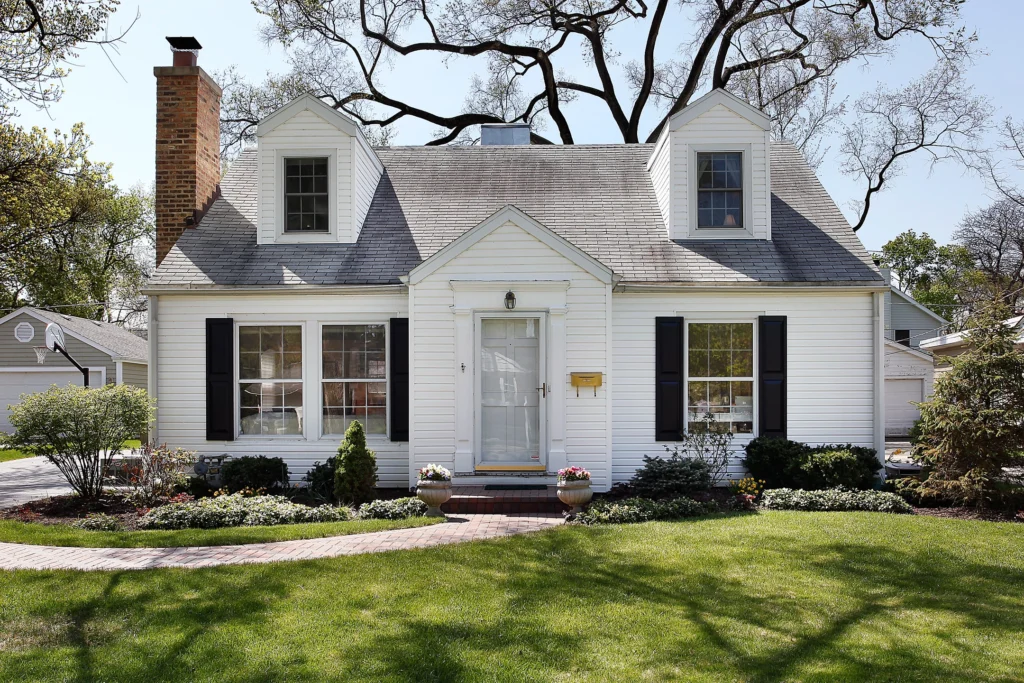
Depending on the way your home is situated, or the way your roof is sloped, you may be able to see parts of it from the ground. If the appearance of your roof is off, it might be a sign that something isn’t right. So, you’ll need to go on top of your home to see what’s going on. As you’re looking around, remember that your roof shingles shouldn’t be discolored or have any gaps.
7) Your Roof’s Age
The age of your roof plays a huge role in the condition and overall longevity of your shingles. Even if you don’t see shingles on the ground or granules in your driveway, that doesn’t mean your roof isn’t damaged in some way. If your roof is approximately 15 years old, then it is likely in need of repair. A roofing contractor can assess your roof’s condition and provide you with the best solution.
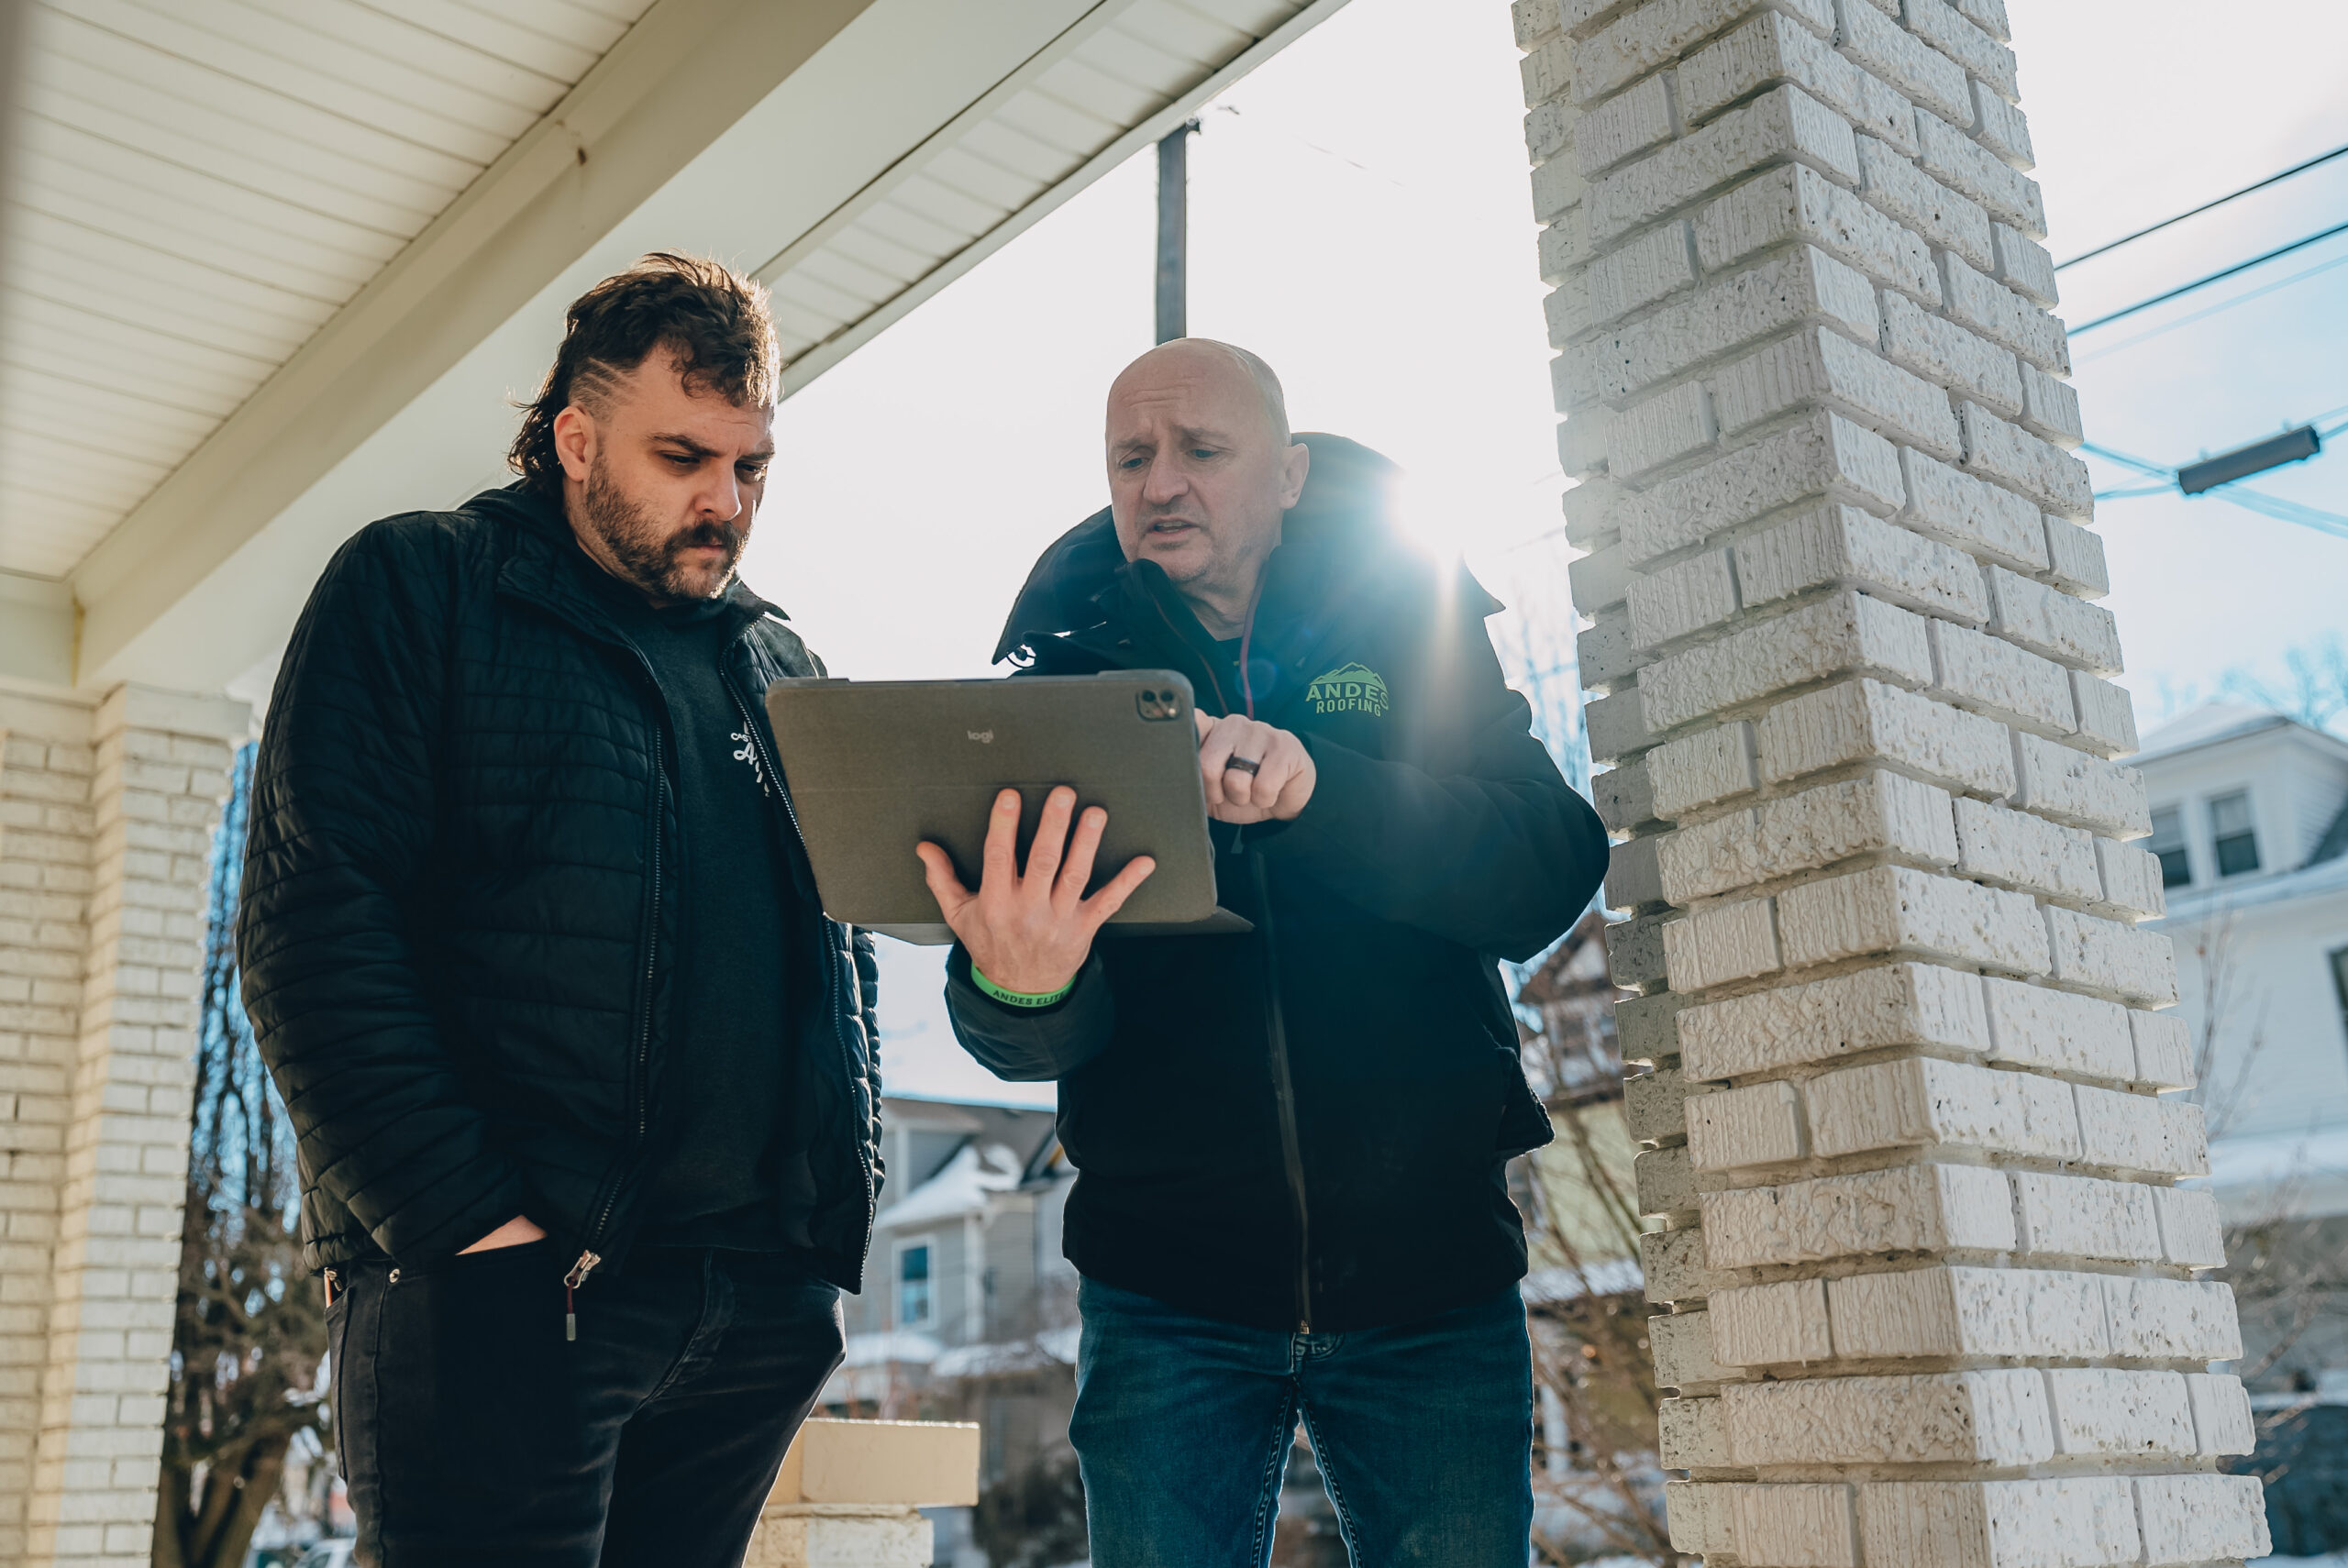
By regularly inspecting your roof, you can prevent roof damage and save yourself the headache of extensive repairs. Again, if you notice any of the signs mentioned above, it’s in your best interest to contact a professional roofing company to take care of things. Instead of doing the inspection by yourself, reach out to Andes Roofing. Our team will make your roof like new again!
How to Replace Damaged Roof Shingles
If your roof has broken shingles, you’ll need to replace them. The best way to do that is by hiring a professional roofer. However, you can also replace the shingles yourself. Here are the steps you need to take:
Step 1: Gather the Necessary Supplies
To get started, you’ll need a claw hammer, roofing nails, roof cement, and replacement shingles. If you don’t have these supplies, head to your local hardware store and grab them.
Step 2: Remove the Broken Shingle
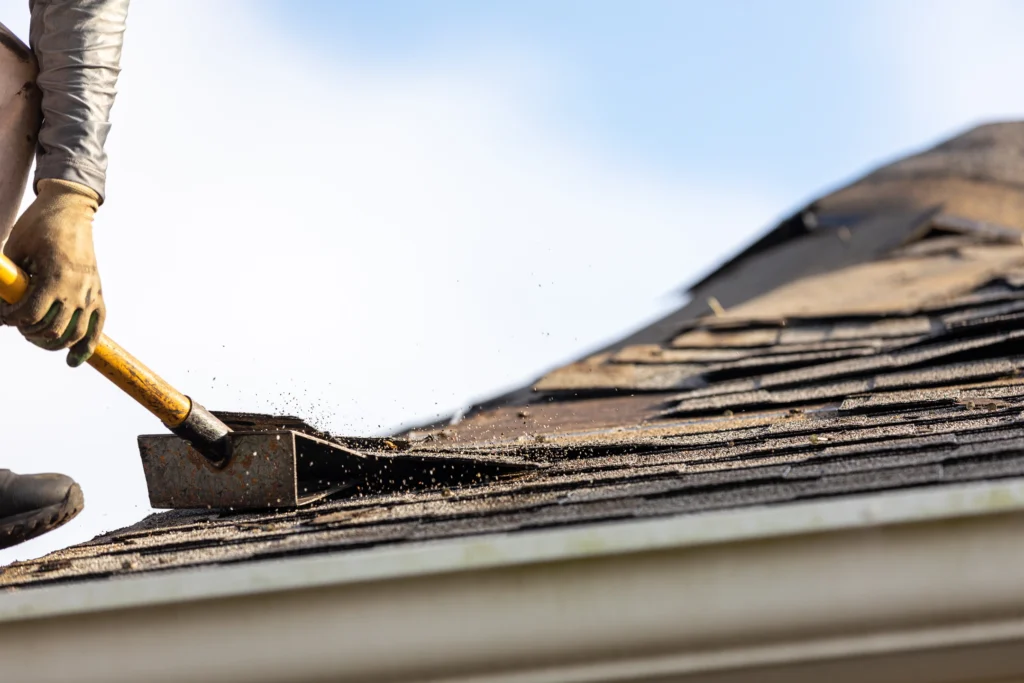
Using the claw hammer, carefully remove the broken shingle by pulling it off of the roof. Be sure to save any of the nails that may have come off with the shingle.
Step 3: Install the New Shingles
Take the replacement shingle and line it up with the one next to it. Place the shingle on the roof and nail it down with the nails that you saved.
Step 4: Seal the Shingle
Once you’ve nailed down the replacement shingle, it’s time to seal it in place with roof cement. This will help keep it from blowing away in the wind.
Step 5: Continue Replacing Shingles
Continue repeating these steps until all of the broken shingles have been replaced. Then, inspect the roof to make sure everything is secure and that no shingles are missing or out of place.
These steps seem relatively easy, and if you have a bit of roofing experience, they might be. However, if you’ve never replaced shingles, this isn’t a project that you want to DIY. Not only do you have to worry about your safety while on the roof, but you also have to make sure that you replace the shingles properly. Otherwise, you’ll still have a faulty roof to deal with.
Need Roof Repair? Let Us Help!
If your roofing system requires repair or replacement, Andes Roofing is here for you. We are the #1 residential and commercial roofing company in Louisville and Southern Indiana. Our team of expert roofers provides top-tier service, and we get the job done right. If you have questions for us, feel free to call 812-247-6374 or request a quote online. We can’t wait to give you exceptional service!